Red Velvet Mug Cake
Sometimes, you just need a little something sweet to satisfy that craving. But who has the time (or energy) to bake an entire cake? Try making my red velvet mug cake—a quick, easy, and delicious solution for when only something indulgent will do.
In just about five minutes, you can enjoy a warm, fluffy, and perfectly portioned dessert without the hassle of traditional baking.
This mug cake is like a mini celebration in a cup! It’s rich, moist, and has that signature red velvet flavor, with just the right amount of sweetness.
Whether you're treating yourself after a long day or need a last-minute dessert, this recipe has got you covered. Let’s get started!
Why you will love this red velvet mug cake?
- One bowl recipe.
- Quick and easy.
- No leftovers and no wastage as it is single serve.
- Made with simple, easily available ingredients.
- Highly customizable.
How to make a red velvet mug cake recipe?
This red velvet mug cake is just a 2 step process.
| Sr. No. | Steps |
| 1. | Mix all the ingredients in a mixing bowl using a whisk. |
| 2. | Microwave, decorate, and serve. |
Isn't it just great? Super quick, super easy, and ready to indulge in no time.
Red velvet mug cake ingredients
Each ingredient in this recipe plays a role in making the cake light, fluffy, and oh-so-delicious. And the best part? They’re all easy to find and simple to use!
Dry ingredients
All-purpose flour – This is the base of our mug cake. It gives the cake structure and you can’t have a proper cake without it! Use your favorite brands of flour, no recommendations here. Use cake flour if you want a light and airy cake.
Sugar – Sweetness is key! Sugar not only gives our mug cake that perfect level of sweetness, but it also helps create that soft, moist texture.
Cocoa powder – Any red velvet dessert is incomplete without the use of cocoa powder and red velvet mug cake is no exception. A little bit of cocoa powder adds that rich, chocolatey flavor that is a must in red velvet cake, without overpowering the delicate flavor.
Baking powder – This helps the cake rise and get all fluffy in the microwave. Without it, you'd end up with a dense, flat mess—so don’t skip this one!
Baking soda - Another leavener which helps to rise the cake. It reacts with buttermilk and creates the lift.
Salt – A pinch of salt balances the sweetness and enhances the flavors. It’s one of those ingredients you don’t want to skip, even though it seems small.
Wet ingredients
Buttermilk – This keeps the cake moist and gives it that smooth, soft texture. Use store-bought buttermilk or use homemade buttermilk.
Vegetable oil – Oil adds moisture, making the cake extra tender. It's the secret to keeping your mug cake from getting dry or crumbly. This is the secret behind our moist red velvet cake which stays moist for a long period of time.
Vanilla extract – A touch of vanilla adds a little extra warmth and flavor to the cake. It’s the perfect complement to the cocoa powder and helps round out the taste.
Red food coloring – Of course, we can't leave this! It gives your red velvet cake its signature vibrant red color. Just a little bit but will make a huge impact.
White chocolate chips - Use white chocolate chips or chopped white chocolate from a chocolate bar. But, this is completely optional. Feel free to skip if you don't have it handy. No need to make a trip for this :)
Any substitute?
Sugar-free - Replace regular sugar with monk fruit sweetener in 1:1 quantity.
Vegan - Replace buttermilk with an equal quantity of dairy-free milk such as soy milk, oat milk, or any nut milk, and add 1/4 tsp of vinegar for that tangy flavor in red velvet cake.
Gluten-free - Replace all-purpose flour with a gluten-free blend in 1:1 portions.
Tools needed
- Mixing bowl - To create red velvet mug cake batter.
- Whisk - To mix all the ingredients.
- Measuring spoons or measuring cups - to measure ingredients.
- Weighing scale - to precisely measure ingredients.
- Microwave safe mug - to pour the red velvet mug cake batter.
- Microwave - to make the red velvet mug cake.
Red velvet mug cake (step-by-step) recipe

- In a mixing bowl, add all of the ingredients.
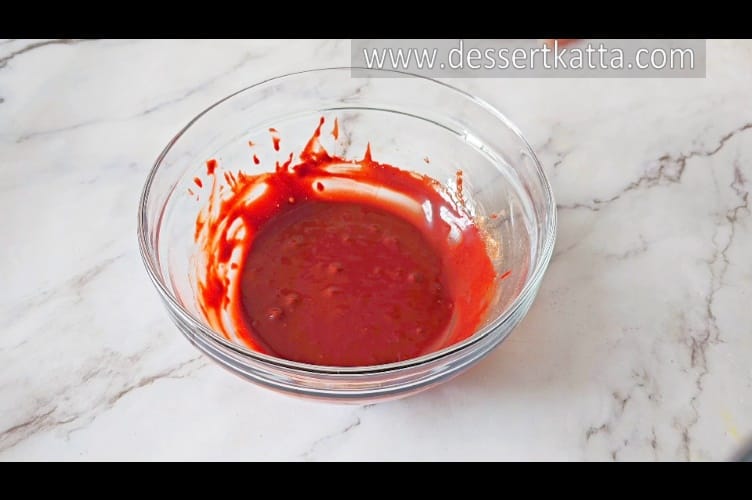
- Mix all using a whisk until smooth.
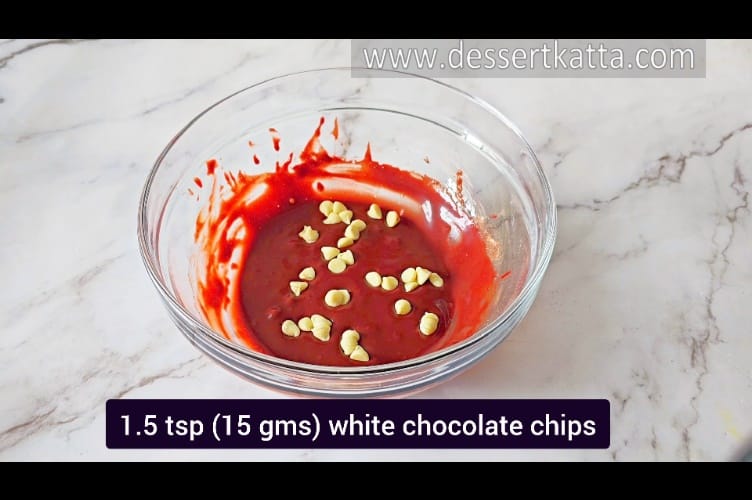
- Add white chocolate chips.
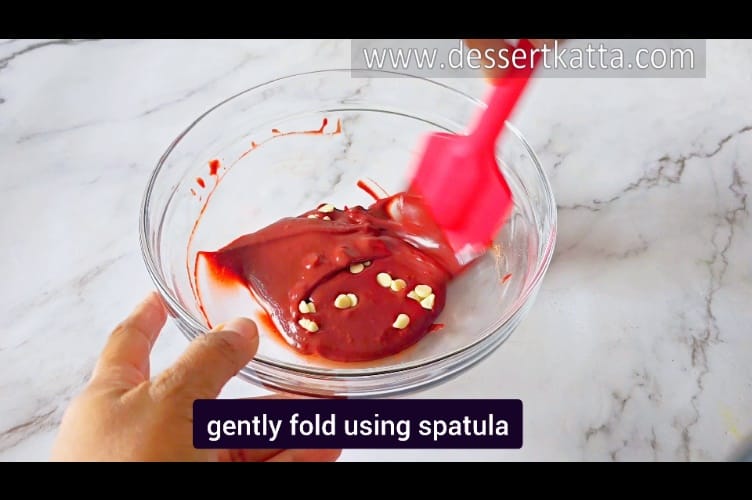
- Gently fold it using a rubber spatula.
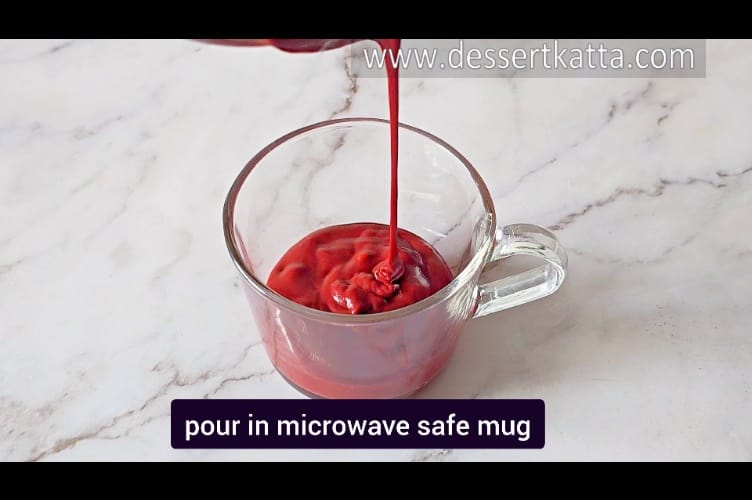
- Pour into a microwave-safe mug.
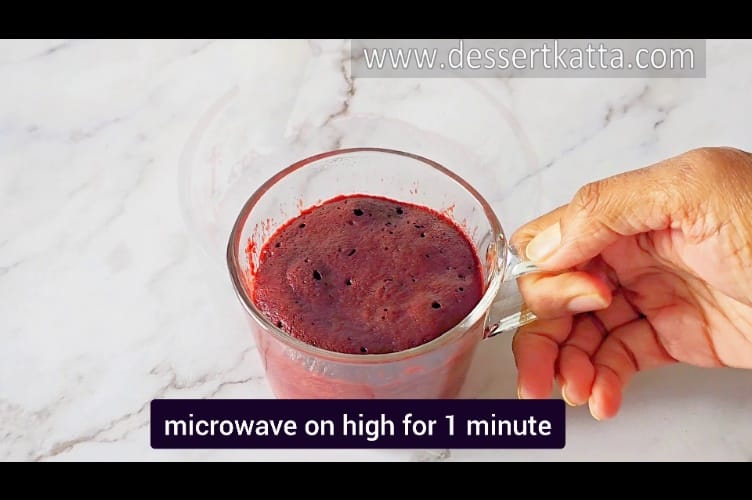
- Microwave on high for 1 minute.
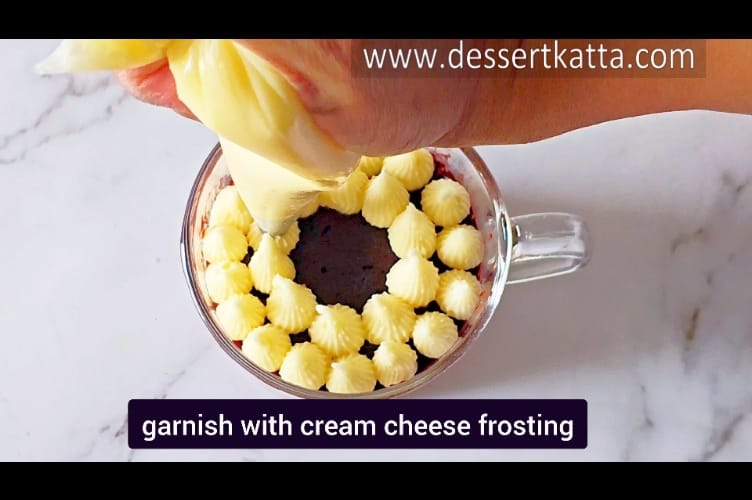
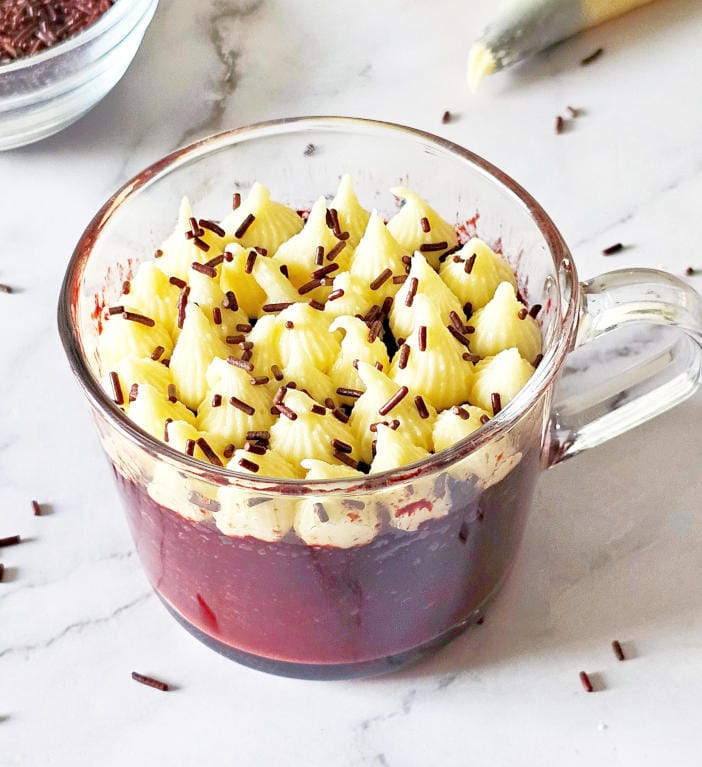
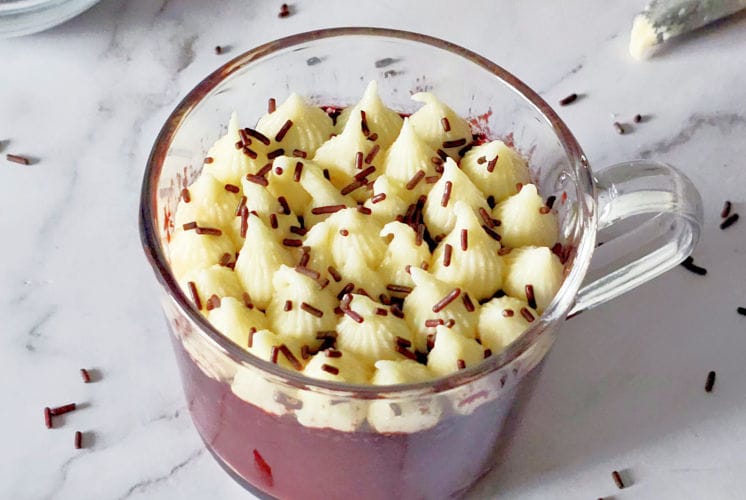
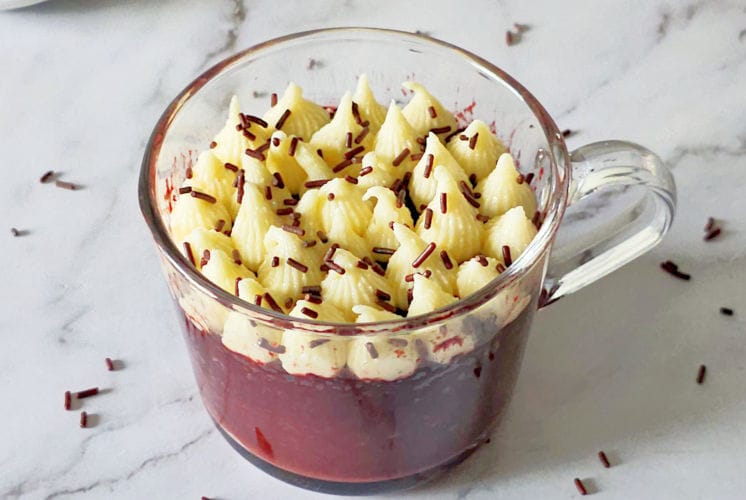
- Let it cool for a minute or two. Garnish with cream cheese frosting.
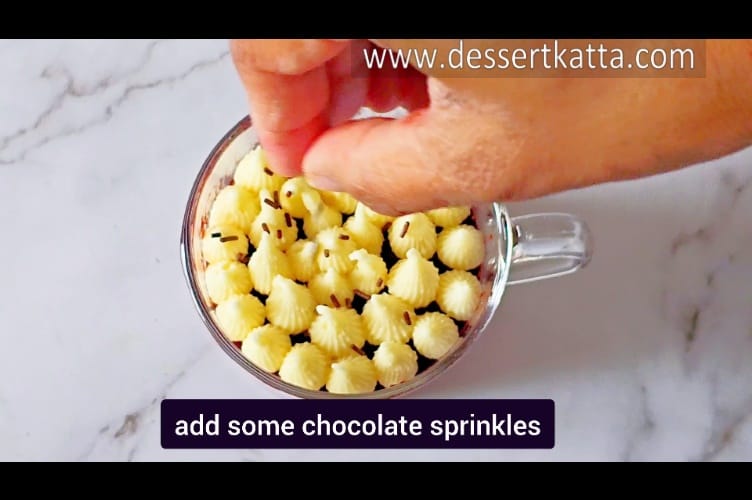
- Add some chocolate sprinkles on top.

- Serve immediately and enjoy.
How to serve?
The beauty of this mug cake recipe is you can enjoy the soft, gooey cake even after it is cooled down. I have decorated this with my favorite cream cheese frosting and few chocolate sprinkles. Below are some of my favorite toppings that I have tried in the past.
Add a Scoop of Ice Cream – Because who doesn’t love warm cake and cold ice cream together? Vanilla or even a scoop of chocolate ice cream works wonderfully with the red velvet flavor. It’s like a mini sundae in a mug!
Top with whipped cream and chocolate – For a lighter touch, go with a swirl of whipped cream and drizzle some melted dark chocolate on top.
Serve It with a cup of coffee – Pair your mug cake with a cup of coffee, hot chocolate, or even a glass of milk for the ultimate cozy treat. I guarantee that you won't regret it.
Watch me making (video)
Storing and freezing instructions for red velvet mug cake recipe
You can store the cake at room temperature, or in the refrigerator, or freezer.
Storing instructions
If you happen to have any leftover red velvet mug cake (though I doubt it’ll last long!), you can store it in an airtight container in the fridge for up to 2 days. Just be sure to let it cool completely before covering it, so it doesn’t get soggy.
Freezing instructions
You can freeze it for up to 1 week. Just store in an airtight container and cover with cling wrap followed by aluminum foil for extra protection.
Thawing instructions
If you’ve frozen your cake, simply let it thaw in the fridge for a few hours or overnight. Then, pop it in the microwave for 20-30 seconds to warm it back up. The texture might be a bit different, but it’ll still be tasty!
In short,
| Sr. No. | Storage Type | Days/ Weeks/Months |
| 1. | Room temperature | 1 day |
| 2. | Refrigerator | 2 to 3 days |
| 3. | Freezer | 1 Week |
Secret tips to make red velvet mug cake recipe
Don’t overmix – Gently mix the batter until it is just combined. Overmixing can make your cake dense and chewy.
Use the right Mug – Make sure your mug is big enough to let the cake rise without overflowing. I have used this 8 oz mug from Ikea. If your mug’s too small, the cake might spill over, resulting in a messy microwave.
Microwave time – Every microwave is different, so keep an eye on your cake as it cooks. Start with 1 minute and check to see if it’s done. If it’s still too wet in the middle, pop it back in for 10-15 second intervals.
Let it cool – Serve immediately if serving without frosting. But, I would highly recommend cooling it down before garnishing it with whipped cream or cream cheese frosting. You know the result, it will melt down, resulting in an unappealing mug cake.
FAQ's
What if I don’t have red food coloring?
No worries! If you’re out of red food coloring, the cake will still taste just as good. You’ll just miss out on the classic red velvet color.
Can I make this in a larger batch?
Absolutely! While this recipe is for one serving, you can easily multiply the ingredients to make more. Just be sure to adjust your cooking time depending on the number of mugs you pop in the microwave. Bake a small birthday with a silicon pan just like I baked my 2-minute birthday cake.
Can I store leftover mug cake?
It is very rare to have a leftover as it is a single-serve dessert. But if you do, please follow my storing and freezing instructions.
Can I make it ahead of time?
Usually, mug cakes are not recommended to make ahead of time but you can make it ahead of time as it stays moist longer. Also, prepare a dry mix by adding all the dry ingredients and adding wet ingredients just before making will save lot of time.
If you have any further questions, please feel free to drop a comment below and I will be happy to answer them :).
Want to try some other mug cake recipes?
What are you waiting for?
I’d love to hear what you think about this red velvet mug cake! Have you tried it with any fun twists or toppings?
Did you add a little extra cocoa or swap in a different frosting? Whatever it is, drop a comment below and let me know how it turned out!
Feel free to share your own variations, tips, or any questions you have. I can’t wait to see what delicious creations you come up with!
Tag @Dessertkatta or hashtag it # Dessertkatta if you post it on Instagram.
Recipe card
You can top this moist red velvet mug cake with whatever you like—whether it's creamy frosting, a scoop of ice cream, or some whipped cream—making it your very own personalized dessert. Perfect for those times you need a quick, cozy snack or a last-minute treat!
- 10 tsp All Purpose Flour (25 gms)
- 2 tsp Cocoa Powder (5 gms)
- 1/8 tsp Baking Powder (0.625 gms)
- 1/8 tsp Baking Soda (0.625 gms)
- 1 tbsp 1.5 Sugar (18.75 gms)
- A pinch of salt
- 1/4 tsp Vanilla Extract (1.25 ml)
- 2 tsp 2.5 Oil (12.5 ml)
- 3 tbsp Buttermilk (45 ml)
- 1 to 2 Drops Of Red Gel Food Color
- 1 tsp 1.5 White Chocolate Chips (15 gms)
- In a mixing bowl, add all of the ingredients.
- Mix all using a whisk until smooth.
- Add white chocolate chips.
- Gently fold it using a rubber spatula.
- Pour into a microwave-safe mug.
- Microwave on high for 1 minute.
- Let it cool for a minute or two. Garnish with cream cheese frosting.
- Add some chocolate sprinkles on top.
- Serve immediately and enjoy.
Thank you for visiting DessertKatta. Please follow Dessert Katta for more dessert recipes by Sayali Bhave.