4 inch vanilla cake recipe (mini vanilla cake)
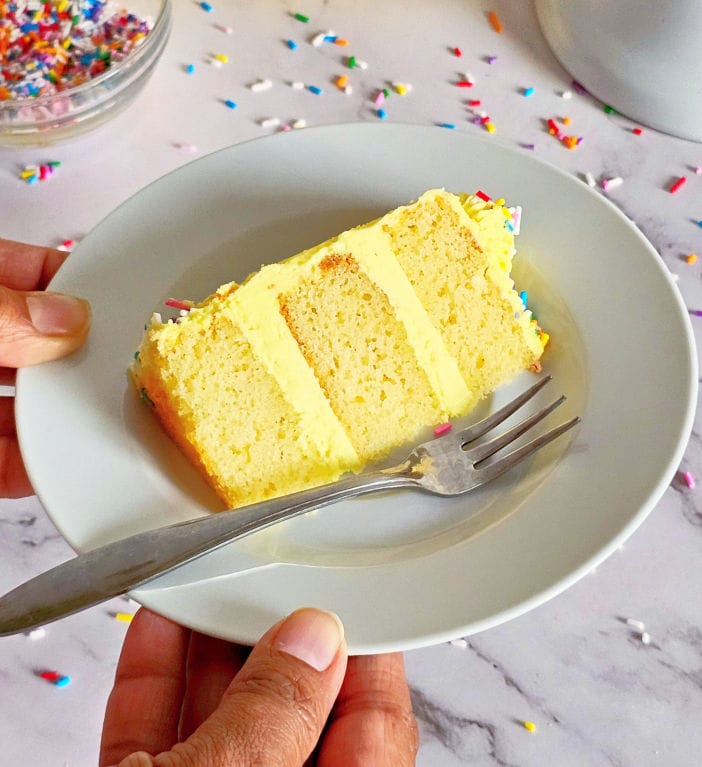
This is the most delicious 4 inch vanilla cake recipe you have ever tried. The soft, moist butter cake is made using the reverse creaming method.
This recipe is based on my all-time favorite vanilla cake. The beauty of this recipe is that it can be prepared ahead of time, and will still be fresh a day or two later. After all, everyone wants to save their energy on the day of an event, right?
Sometimes, you want to prepare something smaller rather than making a big one. Maybe, you are only serving a handful of people, or you just want to make a mini cake so that it can be eaten right away rather than storing or freezing or you want to make it as a smash cake and don't like the idea of smashing a big one.
There could be numerous reasons. I love making mini desserts because they satisfy my cravings and never go to waste. That's why these mini cheesecakes, mini Oreo cheesecakes, or mini white chocolate cheesecakes are among of my favorite desserts to create.
Why you will love this 4 inch vanilla cake recipe?
- Soft, moist, and tender.
- Rich buttery flavor.
- Nice closed crumbs.
- Pairs beautifully with variety of frostings.
- Ideal for mini-celebrations.
- Can be made ahead of time.
Do I need to say anything more? Once you have tried this recipe, I am sure it will become your to-go vanilla cake recipe going forward.
How to make 4-inch vanilla cake recipe- overview?
As always, let us understand the overview.
| Sr. No. | Steps |
| 1. | Make the cake |
| 2. | Prepare your choice of frosting. |
| 3. | Assemble and garnish. |
| 4 | Serve |
4 inch vanilla cake ingredients
Cake ingredients
Here is what you will need to make this soft, moist 4-inch vanilla cake.

- Unsalted Butter: Why use unsalted butter? Because different brands of salted butter contain varied amounts of salt in them. Hence, you have no control over how much salt your cake will have.
- Sugar: Use regular caster sugar here. Caster sugar is just plain granulated sugar.
- Eggs: Use free-range large eggs.
- Flour: I have used regular all-purpose flour for this cake. Cake flour will result in even lighter crumbs, making the cake a little dry. Check out the substitutes listed below.
- Baking Powder: Acts as a rising agent, make sure it is in good condition. You must use good quality baking powder to properly rise the cake.
- Pure Vanilla Extract: I highly recommend using pure vanilla extract but if you do not have it, that's fine. You can use the same amount of vanilla imitation.
- Milk: Use regular whole milk (3.25%) to have that rich dairy flavor. Stay away from using 1% milk or 2% milk.
- Salt: Salt always improves the flavor of your dessert. If you use unsalted butter, you can leave out salt entirely otherwise, it will become too salty.
Frosting ingredients
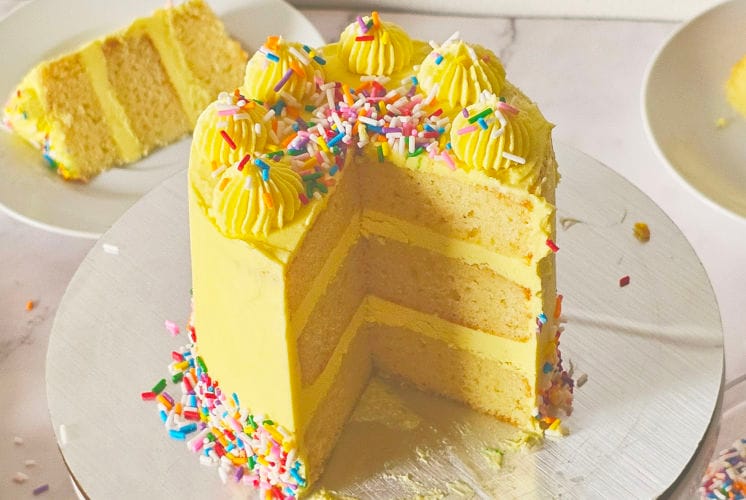
I am decorating this 4-inch cake using regular American buttercream. I have mentioned different frosting variations for you to choose from.
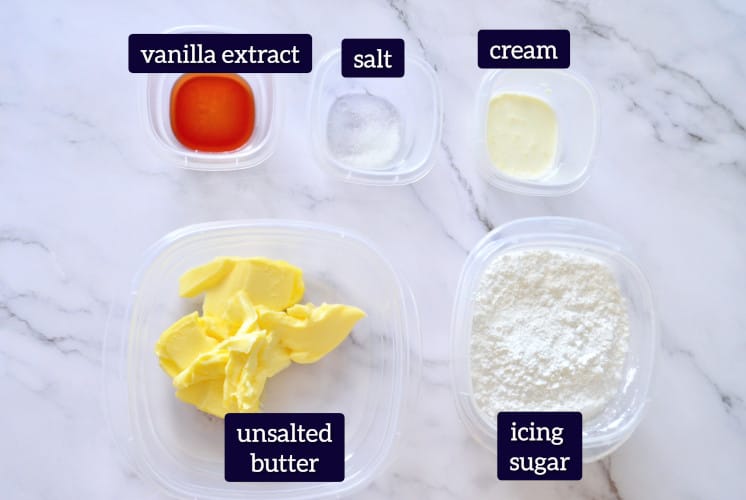
Unsalted butter - As I often say, using unsalted butter gives you control over the amount of salt. If you don't have it, that's ok. Use regular salted butter instead.
Icing sugar - This is also known as powdered sugar or confectioners sugar. Use your own or store-bought, both will do.
Vanilla extract - Only a teaspoon of vanilla.
Salt - Use regular table salt. Skip out entirely if you use salted butter.
Cream - Use full fat of 35% or 3.25 milk, which would also work.
Any substitute?
Flour - You can use homemade cake flour or store-bought cake flour instead of regular all-purpose flour. Replace 56 gms of butter with 40 gms of butter and 15 gms of oil, as using cake flour will dry up the cake and oil will moisten that.
Sugar - Replace sugar with the exact amount of sugar-free. Monk fruit sweetener is a great alternative.
Whole milk & butter - To make a vegan version of this cake, replace butter with vegan butter and whole milk with almond milk or soy milk.
Tools needed
- Measuring cups
- Measuring spoons
- Weighing scale
- Hand beater
- 4 inch cake pan
4 inch vanilla cake(step-by-step) recipe
Vanilla cake (step-by-step) recipe
Prepare batter

- Preparation: Prepare your pan with parchment paper. You can also coat it with butter and all-purpose flour, as I did when I made my vanilla cake.

- Combine egg and wet ingredients - In a small mixing bowl, add egg, vanilla extract, and milk.

- Sift dry ingredients - In a large bowl, sift together all of the dry ingredients (all-purpose flour, baking powder, and salt).

- Mix dry ingredients with butter - In a mixing bowl, combine the sifted dry ingredients, sugar, and room-temperature softened butter.
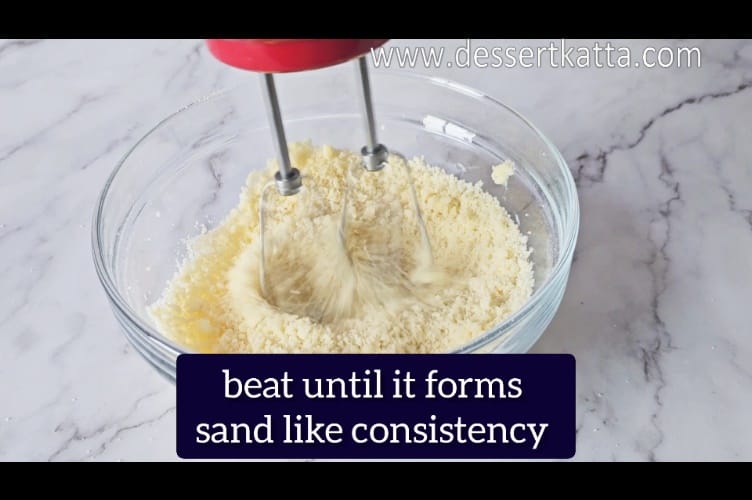
- Beat using a hand beater - Beat dry ingredients and butter with a hand beater. If you are using a stand mixer, use the paddle attachment to mix. In both cases, beat until it forms a sand-like consistency.
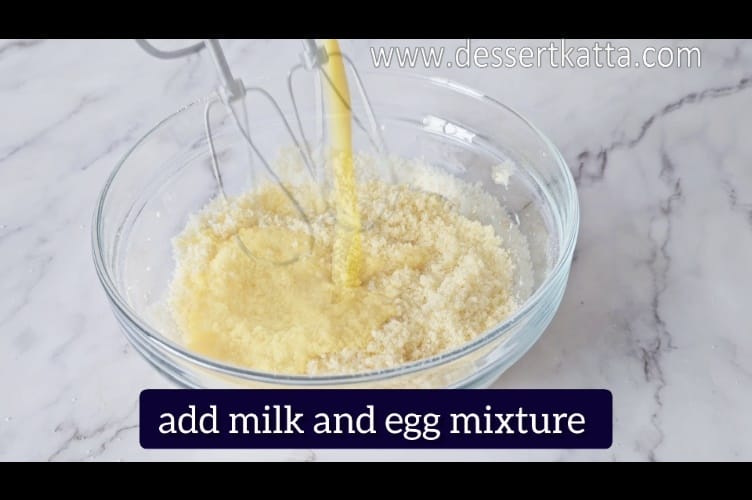
- Add wet ingredients - Now mix wet ingredients with dry ingredients and beat on low speed until everything is combined properly.
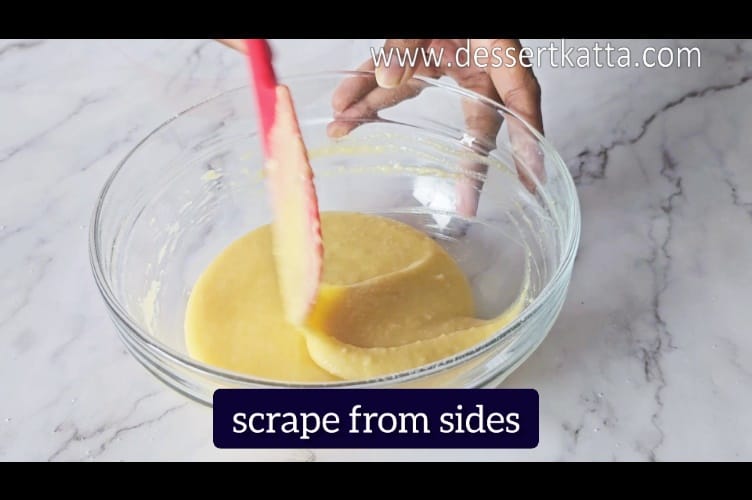
- Scrape - Scrape the bowl from the sides and beat again for 15 seconds.
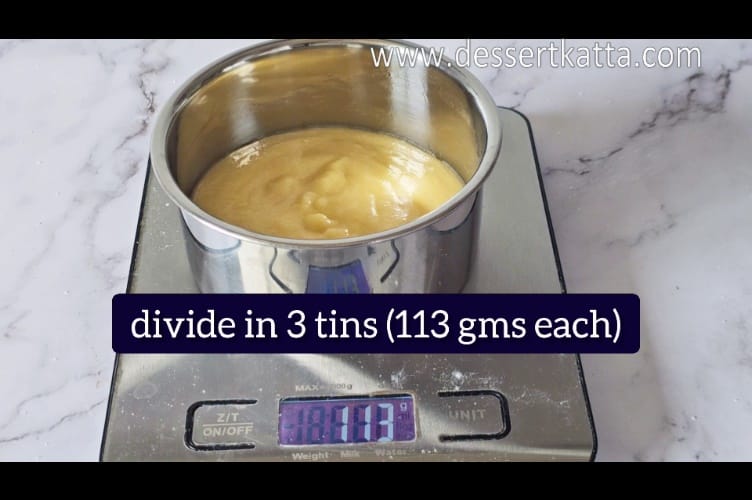
- Pour in pan - Divide the cake batter into three 4-inch cake tins. Each weighs around 115 grams.

Bake cake
- Bake - Bake in preheated oven at 350F (180 C) for 25 minutes or until the toothpick inserted in the center comes out clean. Your oven may take more or less time so I recommend keeping a watch after 20 minutes. Check by inserting a toothpick, if it comes out with wet batter, leave it for another 5 minutes. If it comes out with a few crumbs, leave it for another minute or two and if it comes out clean, take it out right away.
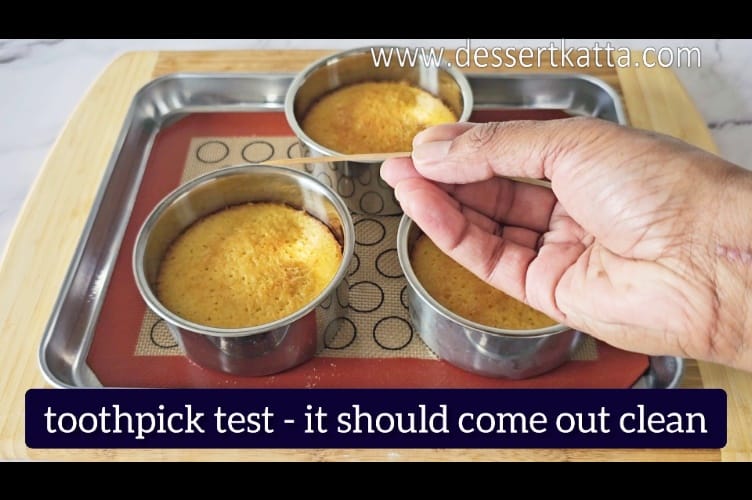
- Ready - The 4-inch vanilla cake base is now ready. Perform the toothpick test (the toothpick inserted in the middle should come out clean) Let it sit in the pan for a few minutes or until you can touch it with your bare hands.
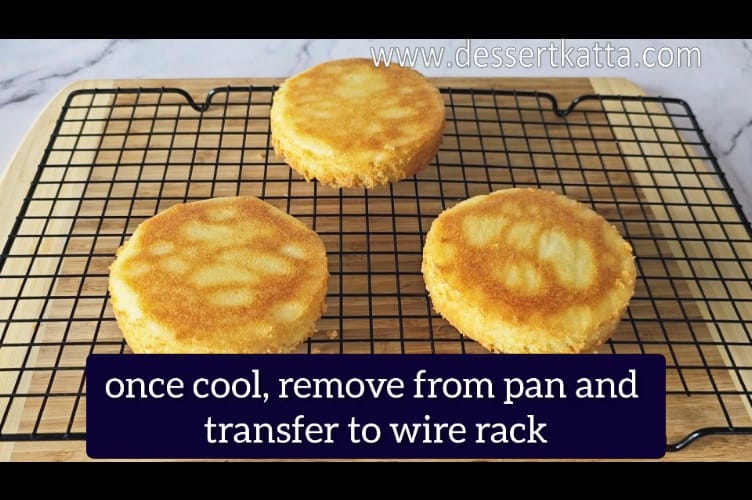
- Place on wire racks - After that, remove it from the tin and place it on a wire rack.
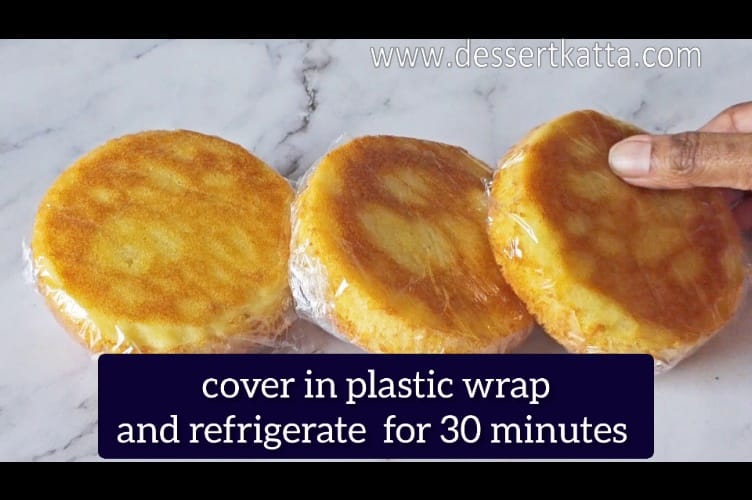
- Wrap - Once they are completely cooled down, cover them tightly with plastic wrap and refrigerate them until we prepare the frosting. Please note that this is completely optional but I recommend doing this extra step as frozen cakes are easier to work with.
Let us prepare the frosting while the cakes cool.
Buttercream frosting step-by-step recipe
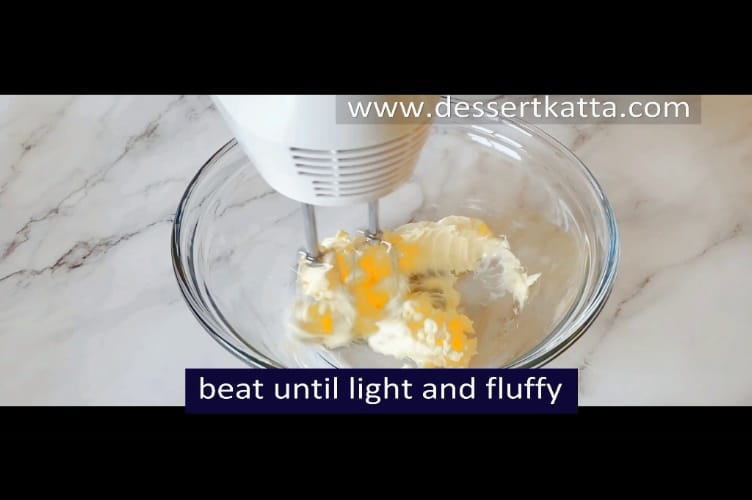
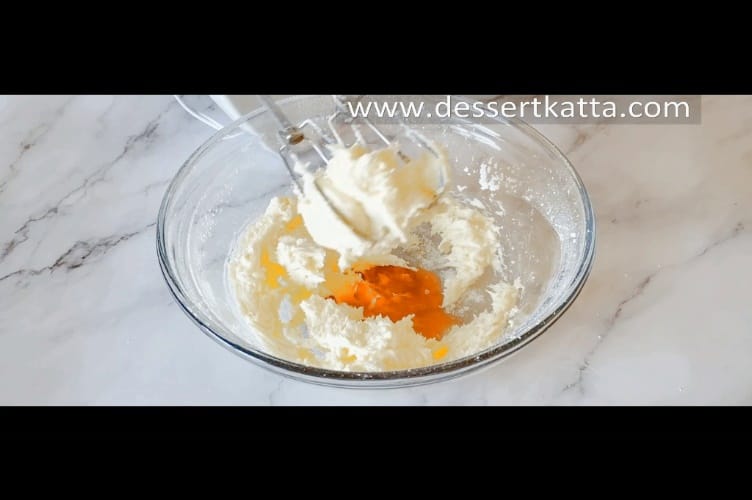
- Beat - In a small bowl, add unsalted butter. Start beating with a hand beater or stand mixer until light and fluffy.
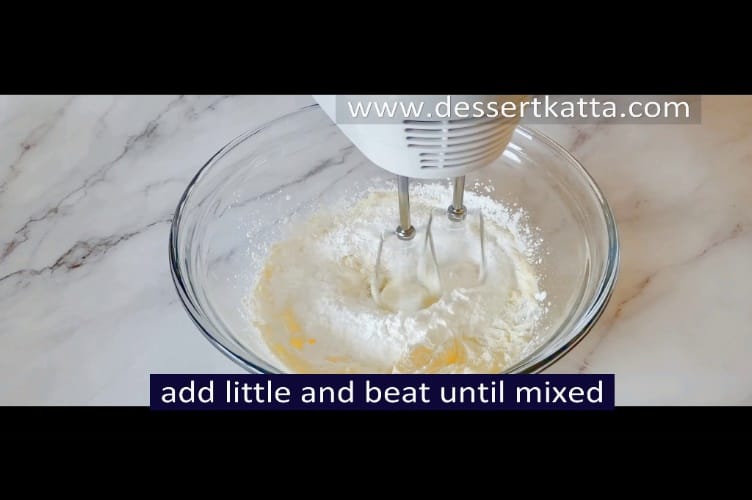
Add powdered sugar - Gradually add the powdered sugar or icing sugar and beat until well combined. Repeat until all of the icing sugar is finished.
- Mix flavoring - Add salt, and vanilla extract and beat for another minute or two.

- Add milk - Mix in 1 teaspoon of milk or cream to adjust the consistency. It should not be too thick and should be easy to pipe and spread.
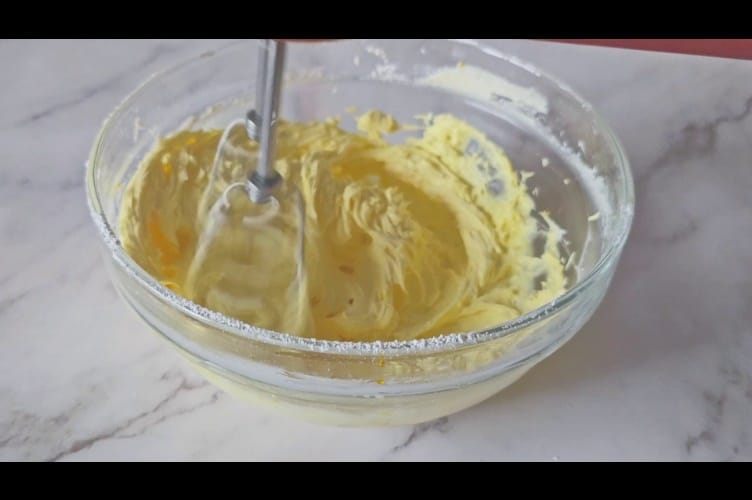
- Add color - Add a few drops of your favorite color. Beat until combined.
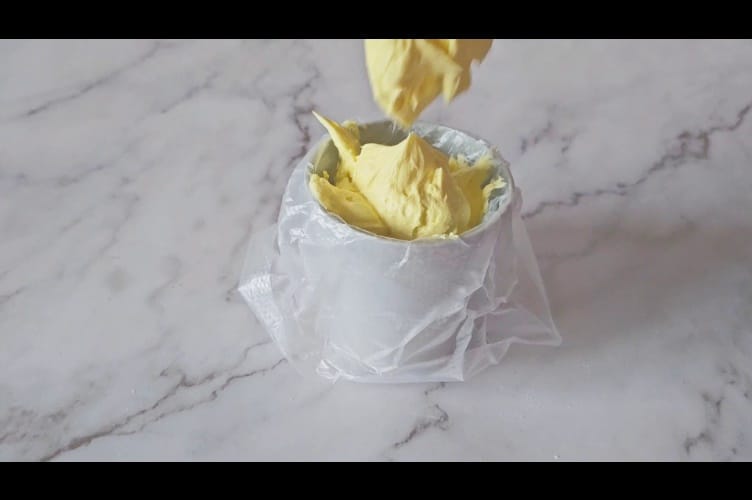
- Fill - Fill in the piping bag and keep it aside.
Assemble
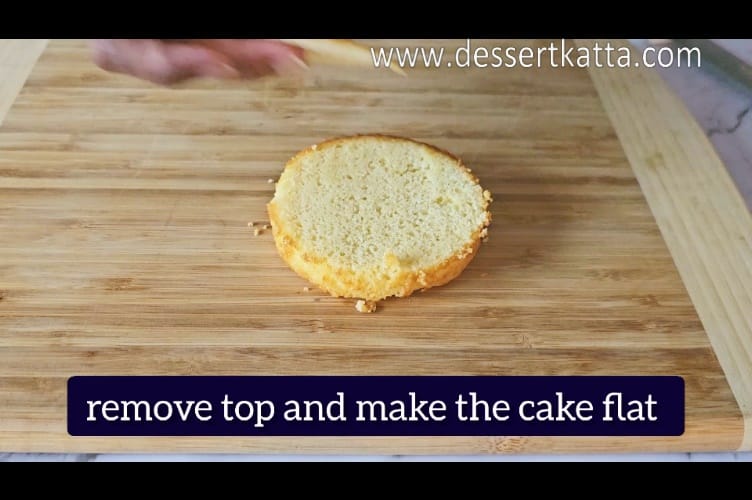
- Remove top - Remove the top with serrated knife and make a flat top.
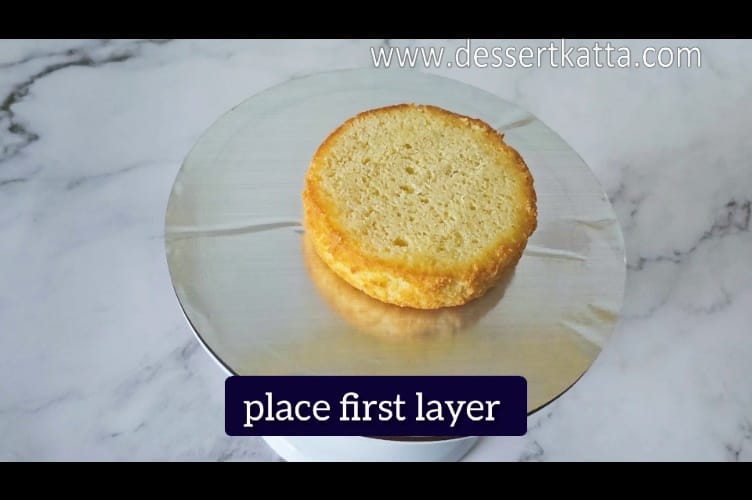
Place Cake layer - Place one 4-inch mini cake on the cake board.

- Add sugar syrup - To keep the layers moist longer, apply approximately 1/4 tsp of sugar syrup with pastry brush.
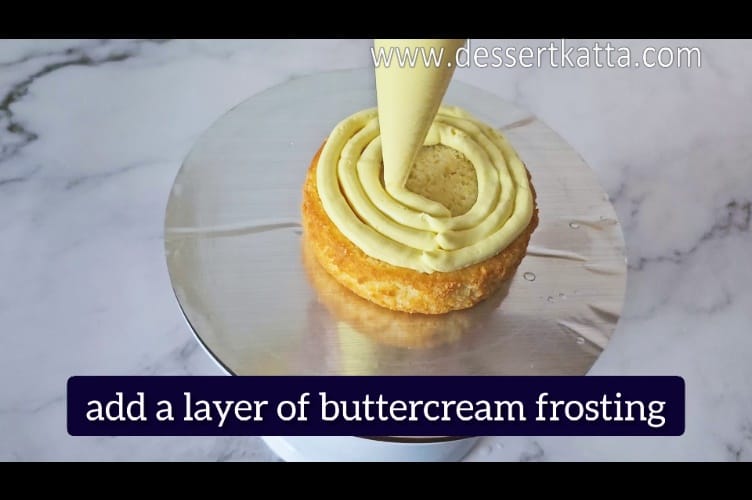
- Spread frosting - Spread a generous amount of frosting on top. Smooth the frosting using an offset spatula.
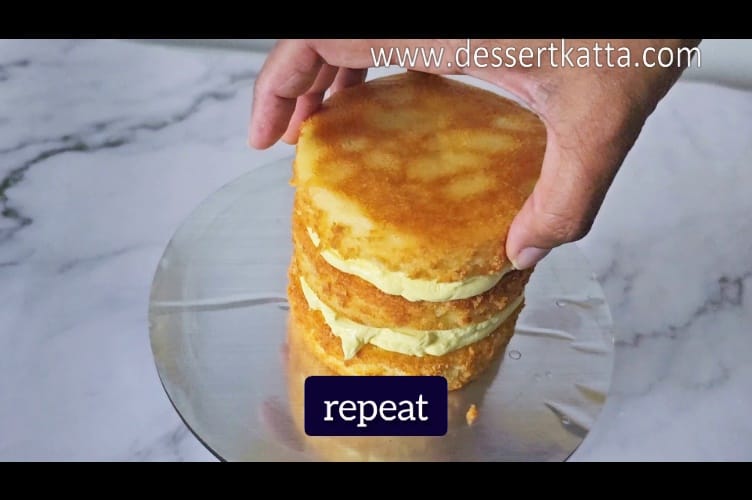
- Repeat - Repeat the last two steps for all three layers.
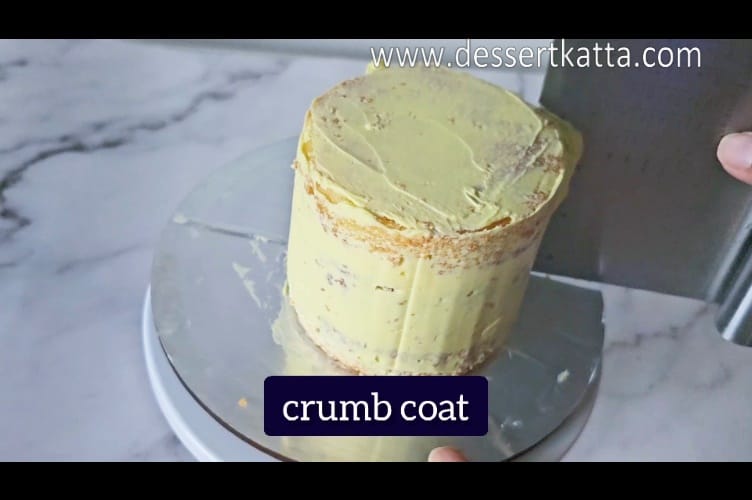
- Crumb coat - After adding the frosting between the layers, crumb coat the cake with frosting and refrigerate for 10 to 15 minutes.
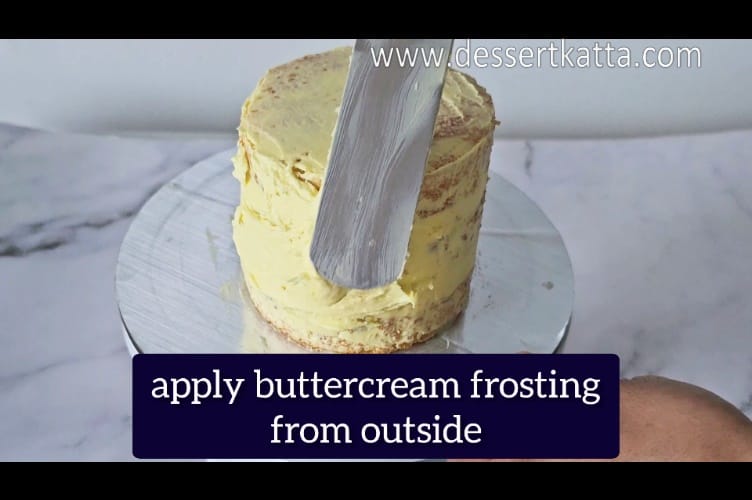
- Frost - Remove the cake from the refrigerator and frost the sides with the remaining buttercream.
Garnish
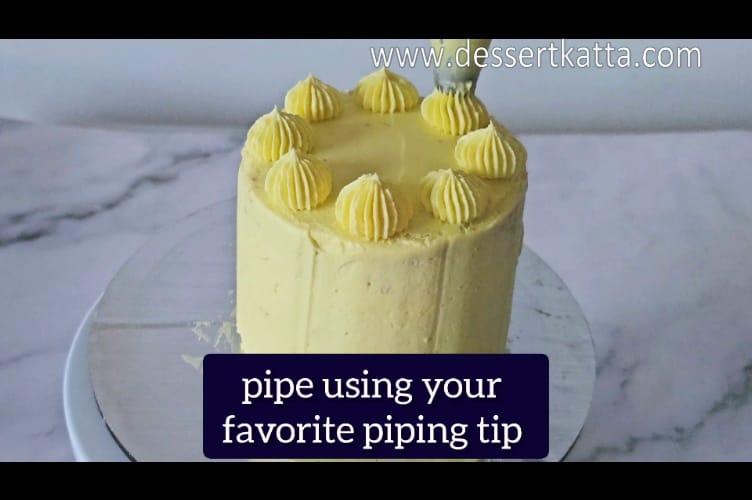
- Pipe - Pipe on top of the cake using your favorite piping tip.
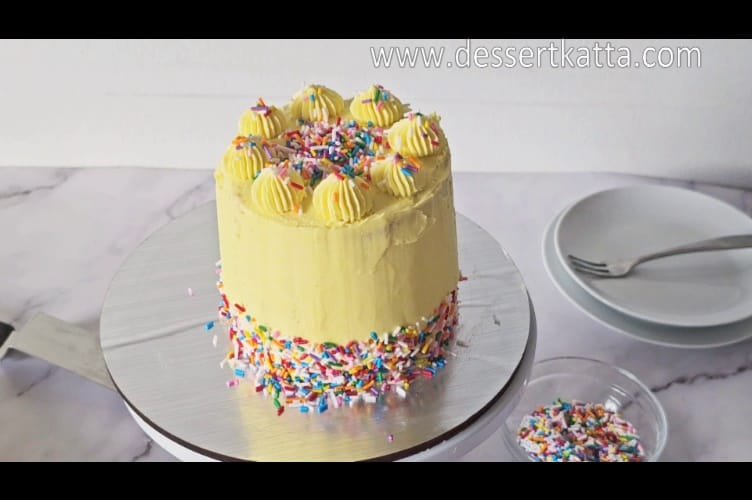
- Garnish - Garnish it with sprinkles or chocolate chips.

- Serve - Serve!
Watch how to make it (video)
Storing and freezing instructions for mini vanilla cake

Just like any other cake, you can store this mini vanilla cake at room temperature, in the refrigerator, or the freezer.
Storing instructions
You can either store this cake naked (i.e. without frosting) or with frosting.
Store naked cake - As a rule of thumb, allow the cake to cool down completely before covering it with plastic wrap. Finally, store it in an airtight container at room temperature for 3 to 4 days or in the refrigerator for up to 8 - 10 days.
Store frosted cake - First, freeze the leftover cake until the frosting hardens and then cover it with cling wrap and store it in an airtight container at room temperature for 2 to 3 days or in the refrigerator for up to 5 - 8 days.
PS - If you frost the cake with cream cheese frosting, keep it at room temperature for no more than 2 hours.
In both cases, covering the cake with plastic wrap will protect the cake from outside odors.
Freezing instructions
You can either freeze naked or frosted cake, just like you would store it.
Freeze naked or frosted cake - Cover the cake the same way as you would for storing and freeze it in a freezer-safe container or heavy-duty Ziplock bag. For additional protection, cover it with aluminum foil. Do not forget to mention dates.
I would recommend storing or freezing an individual slice rather than storing the entire cake so that you can just remove the number of slices you want to relish :)
Thawing instructions
When you want to enjoy it, either keep it in the refrigerator overnight or on the kitchen counter for a couple of hours and you are good to go.
In short,
Storing and freeing for naked cakes
| Sr. No. | Storage Type | Duration (days weeks/ months) |
| 1. | Room temperature | 3 to 4 days |
| 2. | Refrigerator | 8 to 10 days |
| 3. | Freezer | 2 months |
And
| Sr. No. | Storage Type | Duration (days weeks/ months) |
| 1. | Room temperature | 2 to 3 days |
| 2. | Refrigerator | 5 to 8 days |
| 3. | Freezer | 2 months |
Variations
Here are some of the frosting variations that I have tried with this mini vanilla cake.
- Swiss meringue buttercream - Pair it with less sweet meringue buttercream made from egg whites, icing sugar, and butter. You can easily add different flavorings and create endless variations. No refrigeration is required.
- Chocolate ganache - Frost it with rich dark chocolate ganache made with just chocolate and whipping cream. You do not need any hand beater for this. It is as simple as mixing these two together. No refrigeration is required.
- Fudgy chocolate frosting -Fill and frost with this fudgy chocolate frosting made with real chocolate. You do not need to refrigerate here either.
- Cream cheese frosting - You can either use my stable cream cheese frosting or the chocolate cream cheese frosting that I have used on my chocolate cupcakes. The only difference between this and other frosting is that this one needs refrigeration as it contains perishable cream cheese.
- Plain - This cake is so flavorful, rich, and buttery that it can be served just as is. Maybe you could add a small scoop of vanilla ice cream or a few berries on the sides.
I do not recommend using whipped cream frosting on butter vanilla cake as it will turn soggy. I went into greater depth about this in my buttercream vs whipped cream frosting blog.
Let me know in the comments below what frosting you paired it with. Traditional American buttercream, like mine, any from above, or something different that is not mentioned here
Secret tips to make mini vanilla cake recipe
- Room temperature ingredients - Especially butter and eggs from this recipe. Take your butter and egg out of the refrigerator one hour before. If you forget to take the egg out then just place it in a bowl of tapped hot water for 5 minutes and you are good to go.
- Read the recipe - You do not want to get to the point where you start baking the cake and realize you do not have milk or that you just used the last egg to make an omelet this morning, right? So, always read the entire recipe and confirm that you have all of the ingredients and tools to make this 4-inch vanilla cake.
- Prepare the pans - To make it easier to remove the cake from the pan, either line the bottom with parchment paper or coat it with butter and flour method. Now what is the butter and flour method? It is coating the entire pan with butter first, followed by regular all-purpose flour.
- Check baking powder -If you do everything right and if the cake is not rising as shown in the video, it's probably the baking powder. Please keep replacing your baking powder after six months.
- Do not keep it out - Once the batter is ready, do not leave it out for too long. The baking powder has already started to work, so push in the preheated oven as soon as it is poured into the baking pan. So, do not forget to preheat the oven :).
- Cool down completely - Let the cakes cool down completely before frosting them otherwise, frosting will melt, resulting in a soggy mess.
More cake recipes
If you like this mini vanilla cake, try out my other cakes.
- Red velvet cake with cream cheese frosting.
- Regular vanilla cake with swiss meringue buttercream.
Did you make it?
Do you really want to wait for some special occasion? I would say, no :). Make it right away and enjoy it with your loved ones. Please let me know in the comments section below. I love hearing from you, and your feedback does matter to me.
If you post on Instagram, do not forget to Tag @DessertKatta or Hashtag it #DessertKatta
Recipe card
Enjoy this mini 4 inch vanilla cake recipe, perfect for celebrating small occasions or making mini birthday cake. It is too cute not to make it.
- 1/4 cup Unsalted Butter (56 gms)
- 1/2 cup Sugar (100 gms)
- 1 Eggs
- 1/4 cup Milk (60 ml)
- 1/2 tsp Baking Powder (3 ml)
- 1/2 tsp Vanilla Extract (3 gms)
- 0.625 cup All-purpose Flour (75 gms)
- a pinch of salt
Preparation - Prepare your pan with parchment paper. You can also coat it with butter and all-purpose flour, as I did when I made my vanilla cake.
Combine egg and wet ingredients - In a small mixing bowl, add egg, vanilla extract, and milk.
Sift dry ingredients - In a large bowl, sift together all of the dry ingredients (all-purpose flour, baking powder, and salt).
Mix dry ingredients with butter - In a mixing bowl, combine the sifted dry ingredients, sugar, and room-temperature softened butter.
Beat using a hand beater - Beat dry ingredients and butter with a hand beater. If you are using a stand mixer, use the paddle attachment to mix. In both cases, beat until it forms a sand-like consistency.
Add wet ingredients - Now mix wet ingredients with dry ingredients and beat on low speed until everything is combined properly.
Scrape - Scrape the bowl from the sides and beat again for 15 seconds.
Pour in pan - Divide the cake batter into three 4-inch cake tins. Each weighs around 115 grams.
Bake - Bake in preheated oven at 350F (180 C) for 25 minutes or until the toothpick inserted in the center comes out clean. Your oven may take more or less time so I recommend keeping a watch after 20 minutes. Check by inserting a toothpick, if it comes out with wet batter, leave it for another 5 minutes. If it comes out with a few crumbs, leave it for another minute or two and if it comes out clean, take it out right away.
Ready - The 4-inch vanilla cake base is now ready. Perform the toothpick test (the toothpick inserted in the middle should come out clean) Let it sit in the pan for a few minutes or until you can touch it with your bare hands.
Place on wire racks - After that, remove it from the tin and place it on a wire rack.
Wrap - Once they are completely cooled down, cover them tightly with plastic wrap and refrigerate them until we prepare the frosting. Please note that this is completely optional but I recommend doing this extra step as frozen cakes are easier to work with. Let us prepare the frosting while the cakes cool.
Beat - In a small bowl, add unsalted butter. Start beating with a hand beater or stand mixer until light and fluffy.
Add powdered sugar - Gradually add the powdered sugar or icing sugar and beat until well combined. Repeat until all of the icing sugar is finished.
Mix flavoring - Add salt, and vanilla extract and beat for another minute or two.
Add milk - Mix in 1 teaspoon of milk or cream to adjust the consistency. It should not be too thick and should be easy to pipe and spread.
Add color - Add a few drops of your favorite color. Beat until combined.
Fill - Fill in the piping bag and keep it aside.
Remove top - Remove the top with a serrated knife and make a flat top.
Place Cake layer - Place one 4-inch mini cake on the cake board.
Add sugar syrup - To keep the layers moist longer, apply approximately 1/4 tsp of sugar syrup with a pastry brush.
Spread frosting - Spread a generous amount of frosting on top. Smooth the frosting using an offset spatula.
Repeat - Repeat the last two steps for all three layers.
Crumb coat - After adding the frosting between the layers, crumb coat the cake with frosting and refrigerate for 10 to 15 minutes.
Frost - Remove the cake from the refrigerator and frost the sides with the remaining buttercream.
Pipe - Pipe on top of the cake using your favorite piping tip.
Garnish - Garnish it with sprinkles or chocolate chips.
Serve - Serve!


Thank you for visiting DessertKatta. Please follow Dessert Katta for more dessert recipes by Sayali Bhave.