Are you also a fan of Starbucks chocolate cake pops? You are in the right place. I will show you how to make a homemade Starbucks chocolate cake pop recipe from scratch, step-by-step.
I am a huge fan of these chocolate cake pops and never miss an opportunity to indulge in those delicious treats whenever I go on a coffee date with my husband. But the Starbucks which we used to visit often closed for renovation. So, I decided to make Starbucks copycat chocolate cake pops.
After a few tries, I have discovered the perfect recipe. Make this easy cake pop recipe that does not use any box mix or any store-bought frosting. This recipe is made entirely from scratch! So obviously, it will taste more chocolatey, more rich and more fudgy. Isn’t it awesome?
What is so special about this Starbucks chocolate cake pop recipe?
- From scratch recipe, no box mix is needed.
- Guilt-free and bite-sized treats.
- Perfect candidate for a make-ahead dessert.
- Show stopper at any birthday party.
- Made from easily available simple ingredients.
- Moist and packed with chocolatey flavor.
- Tastes better than Starbucks chocolate pop.
- An interesting activity for your kids.
How to make Starbucks chocolate cake pop recipe- overview?
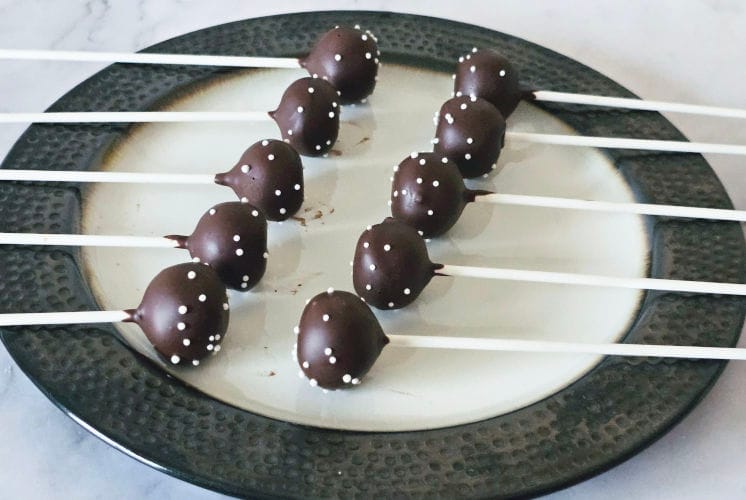
Let us quickly learn how to make these mouthwatering Starbucks chocolate cake pops at home.
| Sr. No. | Steps |
| 1. | Make chocolate cake. |
| 2. | Prepare frosting. |
| 3. | Combine cake with frosting and make balls. |
| 4. | Dip, garnish and Serve, |
Starbucks chocolate cake pop ingredients
Here is a list of ingredients. Please check the full recipe in the recipe card at bottom of this post.
Chocolate cake ingredients
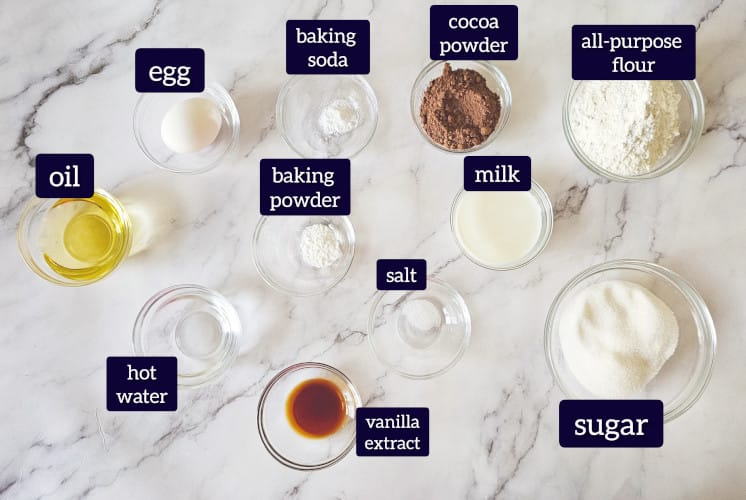
All-purpose flour – Use any of your favorite brands of all-purpose flour. This gives the structure to the cake.
Sugar – For sweetness 🙂
Cocoa powder – This is the star ingredient and gives the cake a chocolatey flavor. Use unsweetened cocoa powder.
Baking powder – Works as a leavener and helps the cake to rise.
Baking soda – Reacts with cocoa powder and helps the cake to rise.
Salt – DO NOT SKIP. Just a pinch of salt will elevate the taste of your dessert.
Milk – Use whole milk. It is ok to use 2% or low fat but it will alter the taste little bit.
Water – Use boiling water. This blooms the cocoa powder and enhances it’s flavor.
Oil – Use unflavored oil to make the moist chocolate cake. This will help to make moist cake pops.
Vanilla extract – This adds deep vanilla flavor, enhancing the chocolate flavor.
Egg – Use a regular large egg.
Frosting ingredients
Butter – Use unsalted butter as a base of the frosting.
Icing sugar – To add sweetness. Prepare homemade icing sugar or use store-bought.
Vanilla extract – Just a half teaspoon. This will enhance the frosting flavor.
Milk (or cream) – Use whole milk or heavy cream to adjust the frosting consistency.
Semi-sweet chocolate – Use unsweetened semi-sweet chocolate that you will get in baking aisle
Coating ingredients
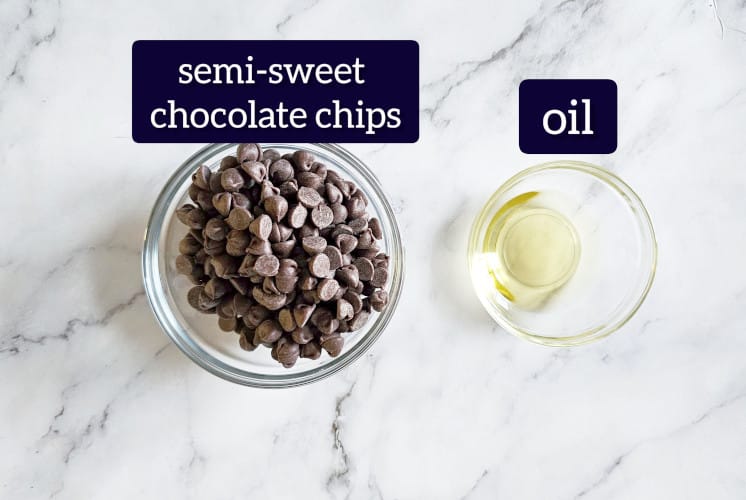
Chocolate chips – To coat the cake pops. This gives a shiny look and smooth finish.
Oil – Helps to thin out the chocolate so that cake pops are coated nicely.
White nonpareils– For garnishing and perfectly replicating the Starbucks cake pop’s look. (forgot to place it in a pic above)
Any substitute?
Milk – You can replace milk with an exact quantity of soy milk or almond milk to make a dairy-free chocolate cake.
Sugar – Monk fruit sweetener can be used as a substitute for sugar.
Semi-sweet chocolate – Replace it with Wilton’s chocolate candy melts or any pure chocolate that is used for baking. why? because it doesn’t require any tempering whereas semi-sweet chocolate chips do. Tempering is the process of melting chocolate at the proper temperature to prevent it from seizing.
Oil (for coating) – Replace it with Crisco shortening or Wilton’s EZ dipping aid which is specifically used for making cake pops.
Sprinkles – To replicate the Starbucks chocolate cake pops, I have used white nonpareils. If you’re making it for a birthday party, feel free to use your favorite sprinkles or ones that match your theme.
Tools needed for Starbucks chocolate cake pop recipe
- Mixing bowls.
- Measuring spoons and cups.
- Weighing scale.
- Hand beater.
- Baking pan.
- Spatula
- Cake pop sticks
- Glass (for dipping)
Starbucks chocolate cake pop (step-by-step) recipe
Chocolate cake step-by-step recipe
Let us prepare the rich chocolate cake first!
1. Prepare the pan
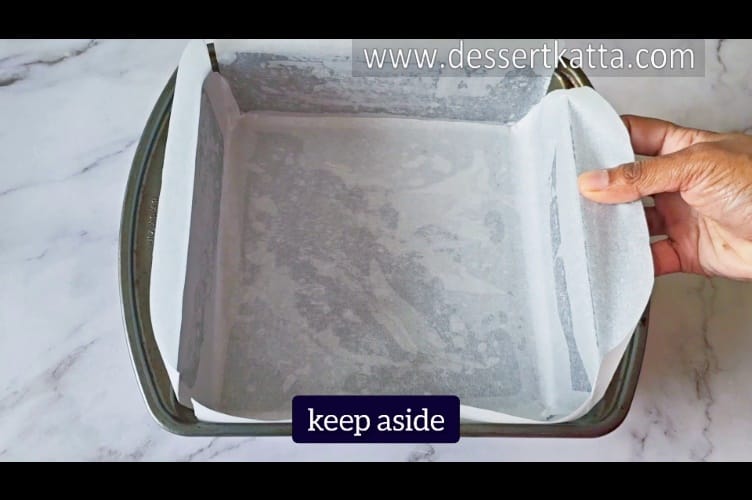
Prepare the baking tray using parchment paper or butter-flour method just like I did while making my moist vanilla cake recipe
2. Sift dry ingredients
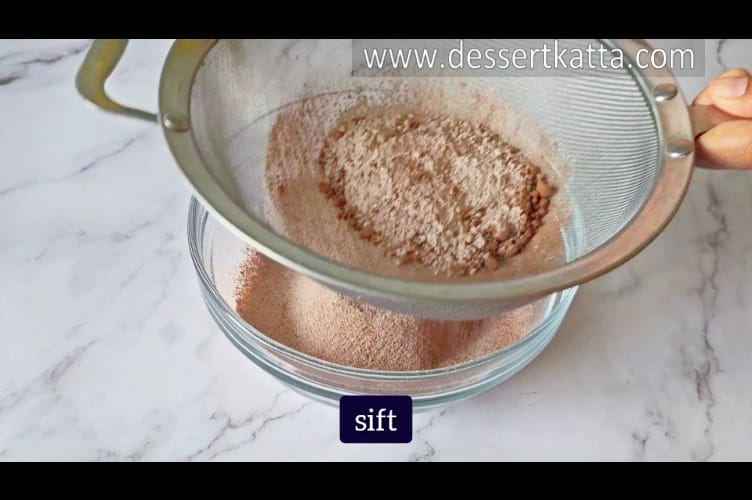
Sift all-purpose flour, cocoa powder, baking powder, baking soda, and salt.
3. Add Sugar
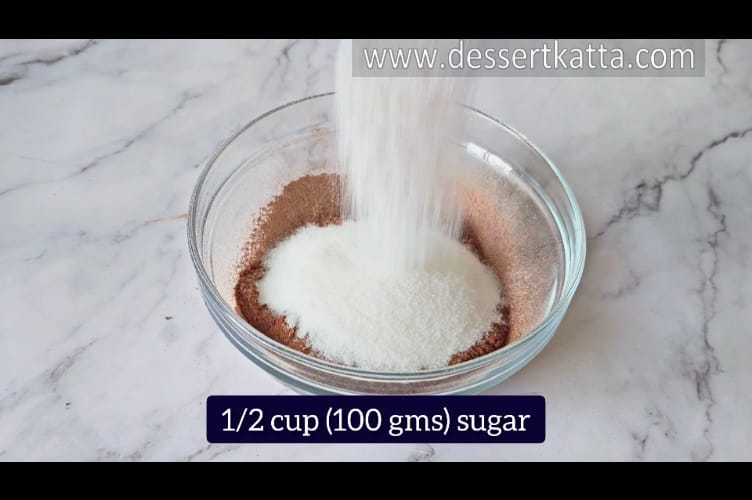
Now add sugar and combine until mixed.
4. Combine wet ingredients
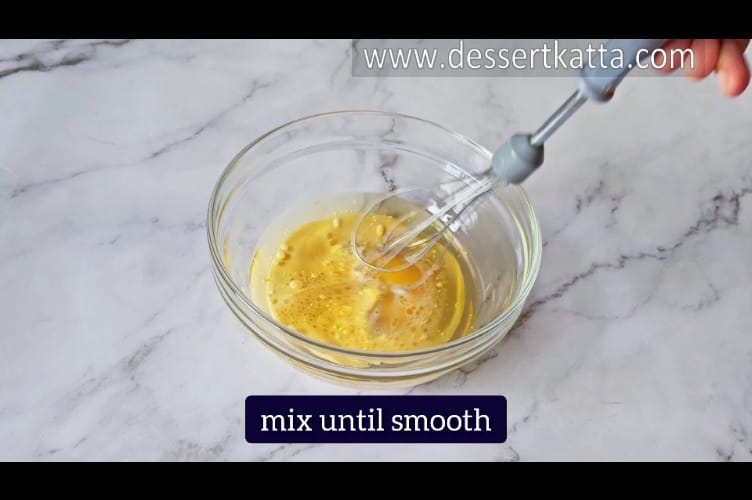
In a large bowl, combine all wet ingredients except the water.
5. Mix wet and dry ingredients
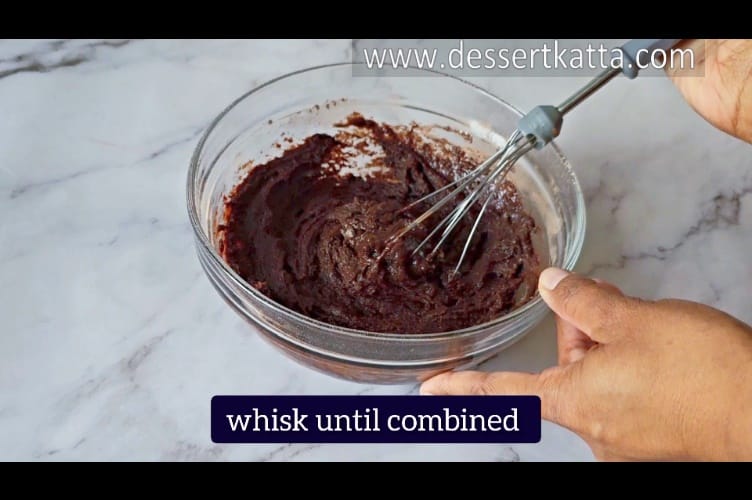
Add all of the wet ingredients to the dry and beat on low speed until just mixed.
6. Mix hot water
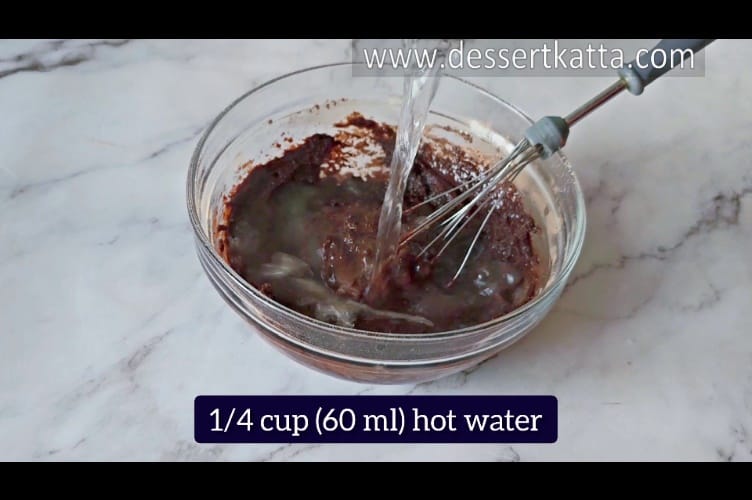
Add the hot water and stir it using a whisk until thoroughly mixed. Scrape the bowl if needed and whisk again.
7. Pour in cake pan
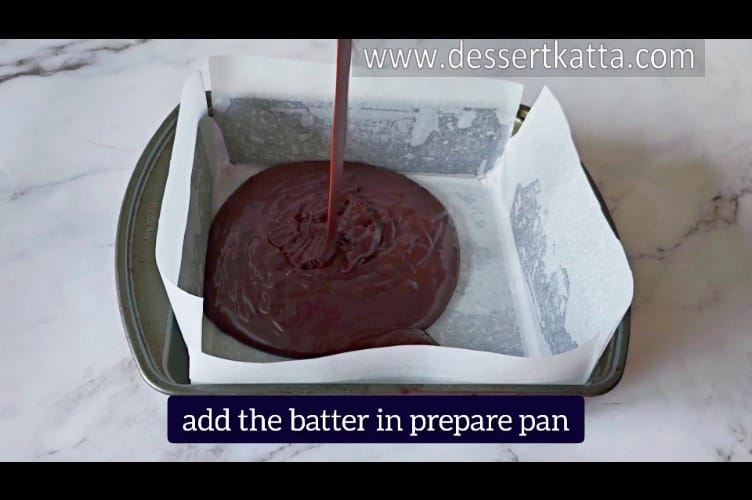
Pour the cake batter into the prepared pan.
8. Bake

Bake the cake at 350F or 180 C for 25 to 3 minutes or until a toothpick comes out clean.
9. Cool
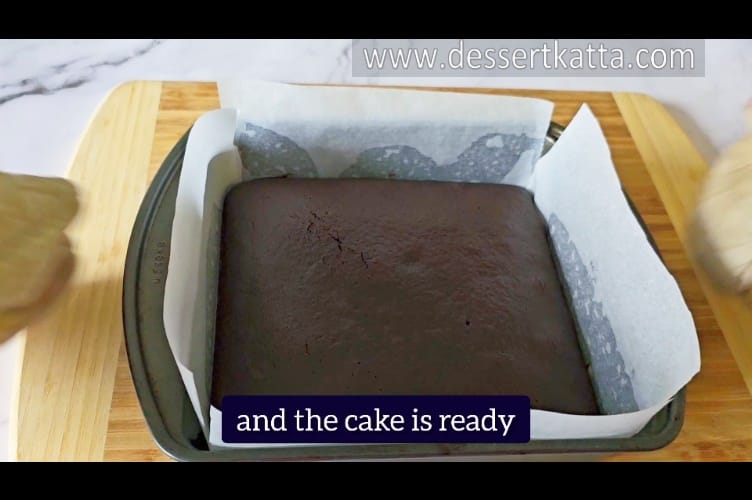
Once taken out of the oven, let it cool down to room temperature. Place on a wire rack if required.
let us prepare the frosting in the meantime time.
Chocolate frosting step-by-step recipe
I have used my fudgy chocolate frosting recipe. Alternatively, you can also use a chocolate cream cheese frosting recipe but you have to store the cake pops in the refrigerator in that case.
10. Take chocolate
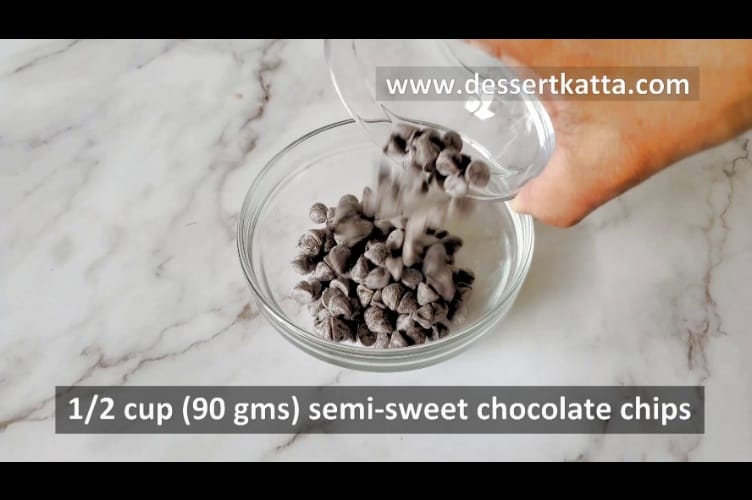
Place your chocolate in a microwave-safe bowl.
11. Melt the chocolate
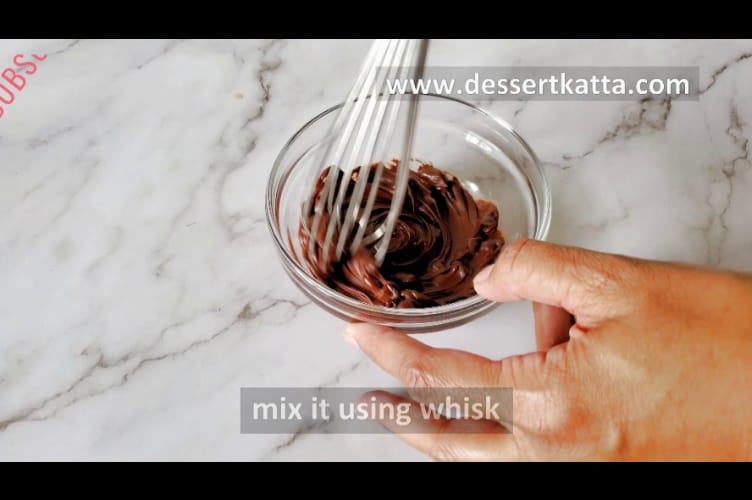
Heat in the microwave (on low power) at 30-second intervals. Stir between each interval until the chocolate is completely smooth and melted. You can also do this in a double boiler or over a pot of simmering water. Once melted, set aside and let it cool.
12. Beat butter
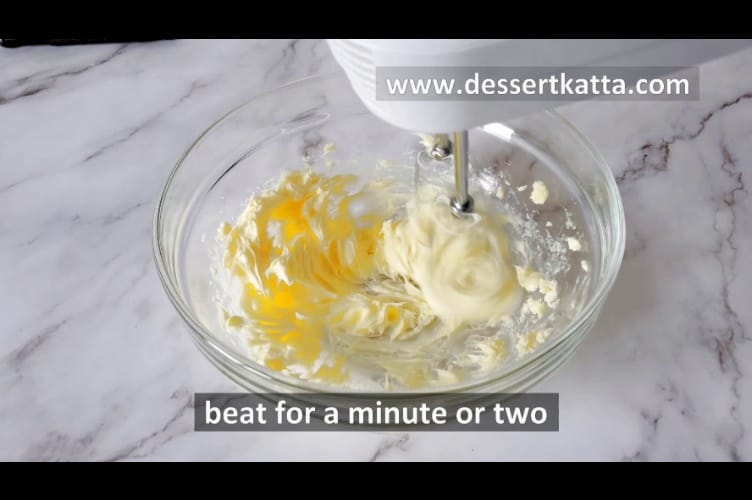
Add unsalted butter to a large mixing bowl and beat until light and fluffy using a hand beater.
13. Add icing sugar

Now add confectioners’ sugar, also known as icing sugar, a little bit at a time, beating until it is incorporated into the butter.
14. Pour in chocolate
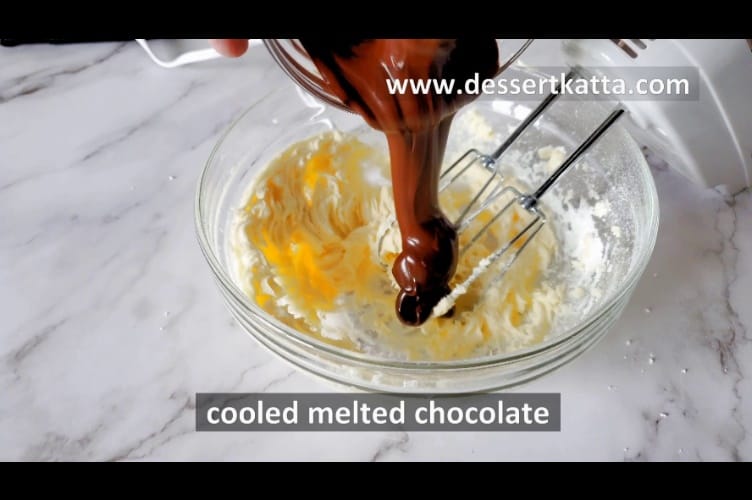
Now add vanilla extract and cooled melted chocolate (from step 1) and continue beating until mixed properly. Scrape the bowl from the sides and bottom as required.
15. Combine
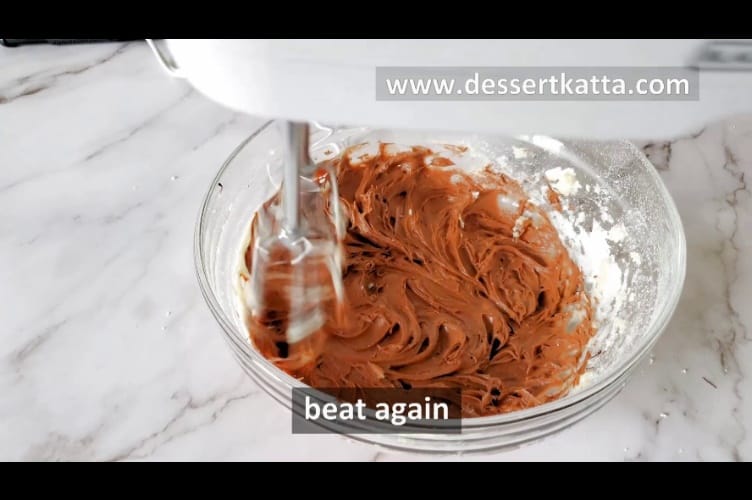
Beat for few more minutes and our fudgy chocolate frosting is ready.
NOTE – Lastly, add milk or cream to reach the desired frosting consistency. I used a tablespoon for this amount of frosting. You might need more or less depending on the consistency of the butter or the amount of sugar you use. So, never mix all of the liquid at once. Gradually add and beat, checking the consistency.
Keep it aside until the cake cools down. It is a good idea to make the cake one day in advance so that it is completely cooled down by then.
For more details, have a look at my fudgy chocolate frosting recipe.
Combine cake with frosting
16. Crumb the cake
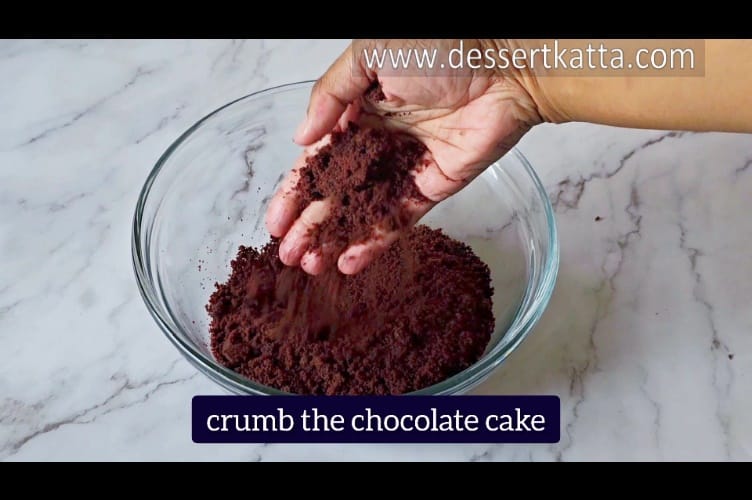
In a large and wide mixing bowl, crumble the chocolate cake. You can do it by hand or with a stand mixer’s paddle attachment.
17. Mix frosting
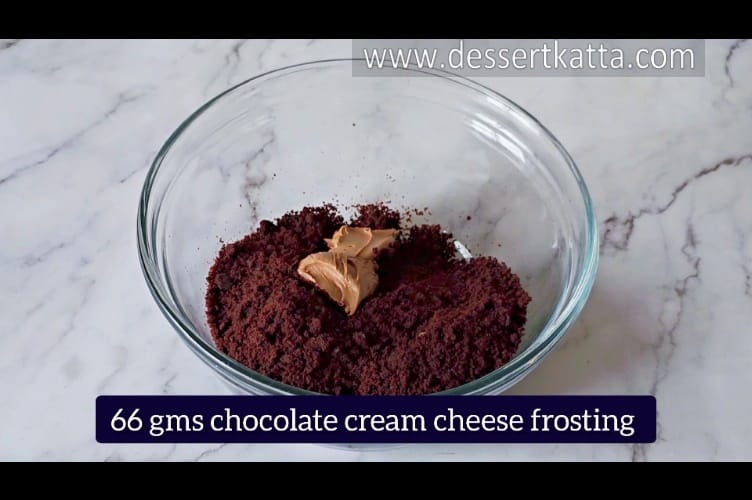
Add a tablespoon of chocolate frosting to the crumbled cake, mix well, check the consistency, and repeat until you reach the desired consistency. If you press some cake mixture in your hands, it should come together easily and should not appear oily. Also, it should be smooth and free of any cracks. If it is falling apart, add more frosting. Please have a look at my video for exact details.
PS – I have used fudgy chocolate frosting and by mistake, mentioned chocolate cream cheese frosting.
18. Make balls

Take some of the mixture using a cookie scoop or a regular tablespoon. Roll into a ball using the palm of your hands and keep it on a baking sheet lined with parchment paper.
Prepare the coating
19. Melt the chocolate

You can melt the chocolate using either the microwave or on double boiler. I personally like to use a double boiler when making a big batch of cake pops but I will be using the microwave today. Add chocolate in a microwave-safe bowl. Heat for 10 to 15 seconds at 50% power. Remove, stir in with a spoon, return for another 10 to 15 seconds.
Repeat the process until you can see the last few bits of chocolate. Don’t worry it will melt with the residual heat.
20. Add oil
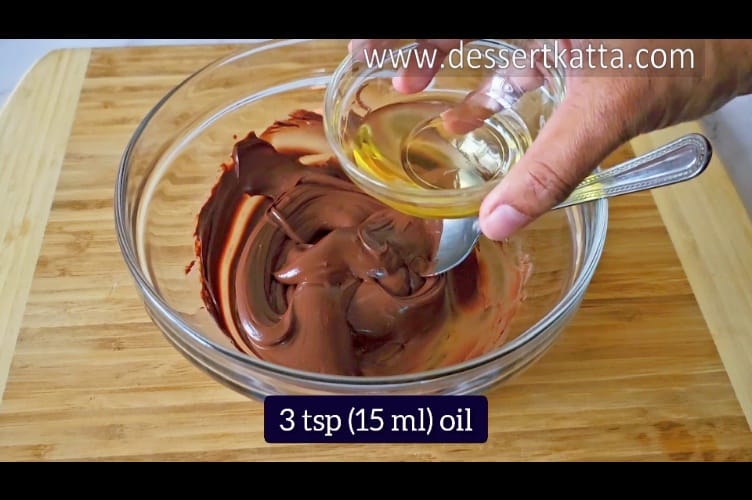
Mix in oil or EZ dipping aid to achieve the ideal consistency.
21. Insert a stick

Take one lollipop stick or cake pop stick. Dip one end in melted chocolate and insert it into a chocolate ball.
22. Repeat
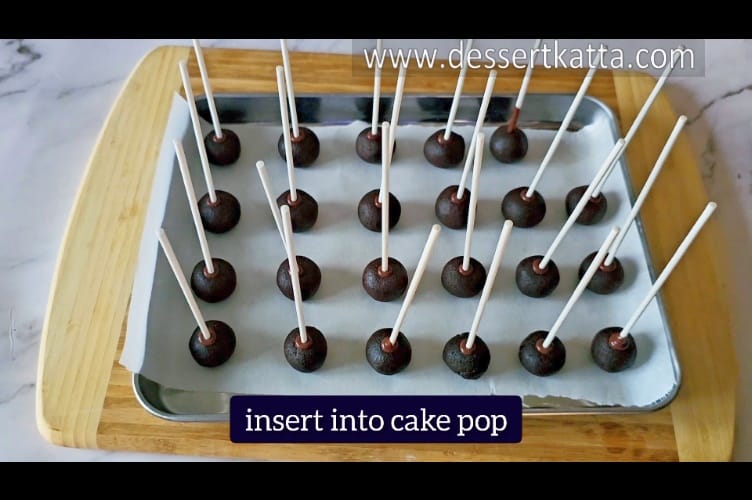
Repeat the process for the remaining chocolate cake pop balls.
23. Refrigerate
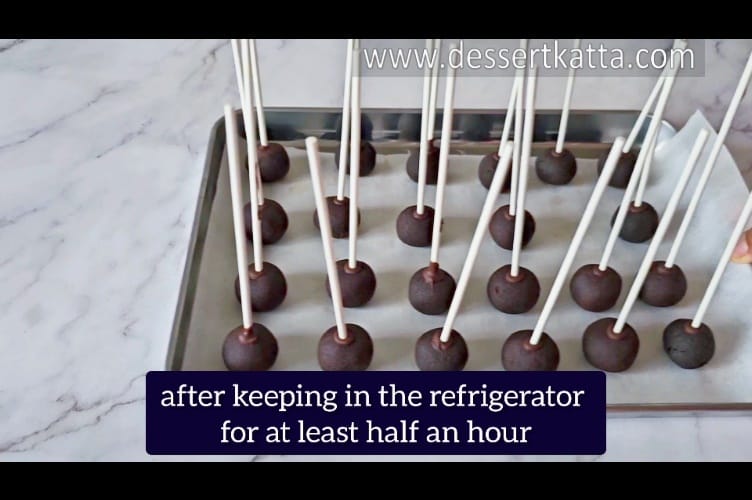
Freeze all the chocolate balls for 15 to 20 minutes.
Dip in coating
24. Dip
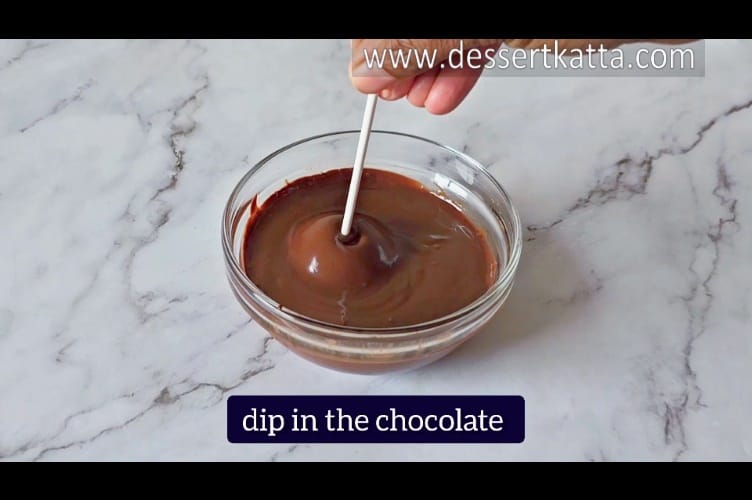
Remove from the freezer and dip in melted chocolate.
25. Remove excess

Tap the other side of the stick to return the excess chocolate to the container and place it on a styrofoam block or cardboard box.
Garnish
26. Garnish

Decorate the chocolate cake pops with sprinkles.
Freeze
27. Refrigerate
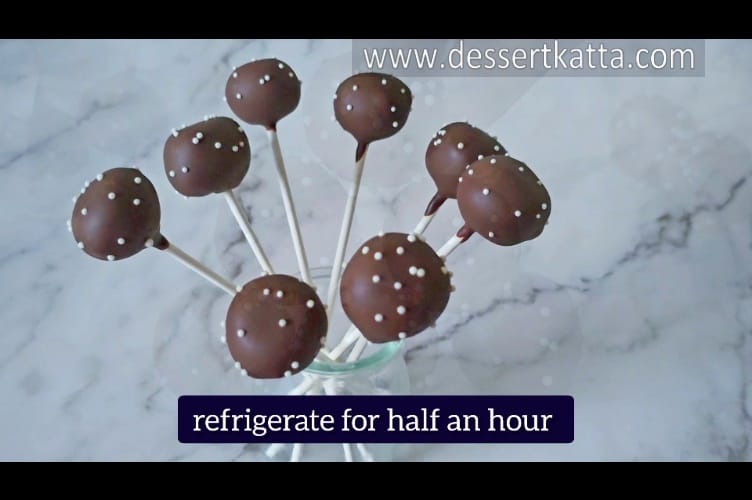
Prepare all of the chocolate cake pops in a similar way and refrigerate the garnished cake pops for 10 minutes.
Serve
28. Serve

Serve.
How to serve?
Cake pops are perfect treat for any occasion and must be served at room temperature.
- Serve it at your next birthday party ( I plan to :)).
- Enjoy with a cup of coffee (just like you would at Starbucks).
- Satisfy your late-night sweet cravings.
- Cover in plastic wrap and take with you on your next vacation.
Watch us making (video)
Storing and freezing instructions for chocolate cake pops
You might have some leftovers or you want to prepare and store them ahead of time so that you can focus on other tasks on the day of the party. Don’t worry. Follow my recommendations for storing or freezing them to enjoy them longer.
You can either store them at room temperature or in the refrigerator or freeze them.
Storing instructions
At room temperature – once the coated chocolate becomes hardened, store it in an airtight container. Please store them in a cool, dry area away from direct sunlight. It is possible that they will stick together. To prevent sticking, store them in individual plastic bags.
They stay ok for up to 3 to 4 days,
In the refrigerator – Place them in an airtight container and refrigerate for up to one week.
Freezing instructions
Freeze – Once the chocolate and garnish have fully set, place them on a cookie sheet lined with parchment paper and freeze them for a couple of hours or until the chocolate hardens. Remove from freezer and store in an airtight container or freezer-safe bag. Put a layer of parchment between them and freeze.
They can stay ok for up to 2 months.
Thawing instructions
Similar to any other cake, thaw it overnight in the refrigerator or directly on the kitchen counter for a couple of hours.
So make these Starbucks chocolate cake pops ahead of time and store or freeze them based on your needs.
Variations
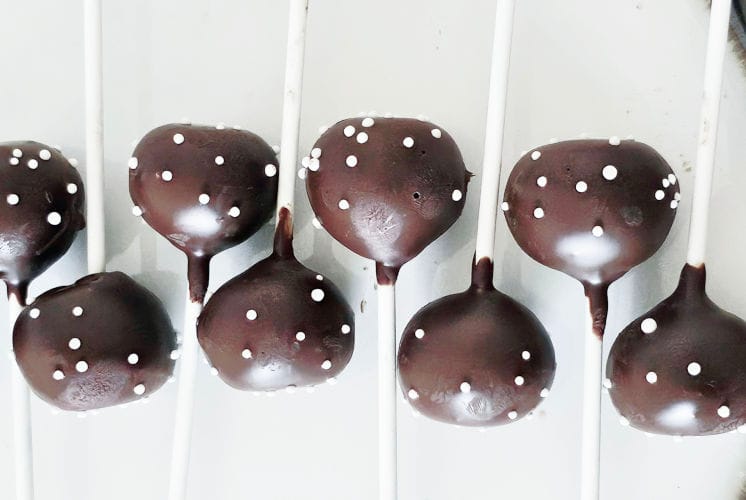
Starbucks chocolate cake pops are nothing but chocolate cake mixed with chocolate frosting, dipped in pure chocolate, and garnished with white nonpareils.
But feel free to experiment with different toppings. These are some of my favorites.
- Different sprinkles – Use chocolate sprinkles or any other colorful sprinkles instead of white ones.
- Chopped nuts – Cover the cake pops with coarsely chopped nuts. Hazelnuts and walnuts are great pairings with chocolate.
- Coconut flakes – Coat the cake pops with toasted chocolate flakes.
Best tips to make copycat recipe of Starbucks chocolate cake pop
- Use real chocolate – For best results, use real chocolate which you get in the baking aisle of any grocery store. This is the best chocolate for dipping cake pops. You can also get it on Amazon. Stay away from compound chocolate or chocolate balls that are difficult to melt.
- Do not overbake – Overbaking will make the chocolate cake pop dry. The chocolate cake requires 40 minutes to bake, but your oven may take less or more time. Keep a watch after 30 minutes and use a toothpick to test it. If it comes out with wet batter, bake for another 7 to 8 minutes. For the toothpick with a few moist crumbs, bake the cake for another minute or two. If it comes out clean, take it out immediately.
- Do not add too much frosting – Gradually add frosting, mix it with cake crumbs, check the consistency, and add more if required. The cake pop mixture should not feel greasy.
- Do not skip oil – Do not forget to add oil or EX dipping aid in melted chocolate for a perfect consistency of chocolate. It should not be too thick that it becomes difficult to coat.
- Do not forget to freeze – If you do not freeze cake pops before dipping them in melted chocolate, they may fall off from stick. So, I highly recommend freezing them for at least 20 to 30 minutes and at least 2 hours in the refrigerator.
- Garnish immediately – I would highly recommend garnishing with white sprinkles as soon as it has been coated with chocolate so that the sprinkles stick to the chocolate easily.
- Melt the chocolate if required – Dipping frozen balls into the melted chocolate may change the chocolate’s consistency. Put it back in the microwave for 10 to 15 seconds to adjust the consistency.
FAQ’s
Why is my chocolate on cake pops cracking?
Chocolate may crack because of temperature difference. If the cake balls are too chilled and the melted chocolate is too warm, it will crack.
Can I make cake pops using a box cake mix?
Yes, you can bake the chocolate cake using any cake mix from your favorite brand Follow the rest of the recipe as instructed.
Want to try some other desserts?
If you love these chocolate cake pops, try out a different varieties with my other cakes.
let me know if you want to make any specific dessert and I will try my best to add them to the blog as early as possible.
When do you want to make it?
Over to you now :). Are you planning to make it for the next birthday party? Please let me know how they turned out in the comments below. I love to hear from you and your feedback is important to me.
Also, do not forget to tag your Instagram photos with #dessertkatta or mention @dessertkatta when you post Starbucks chocolate cake pops pics on it.
Recipe card
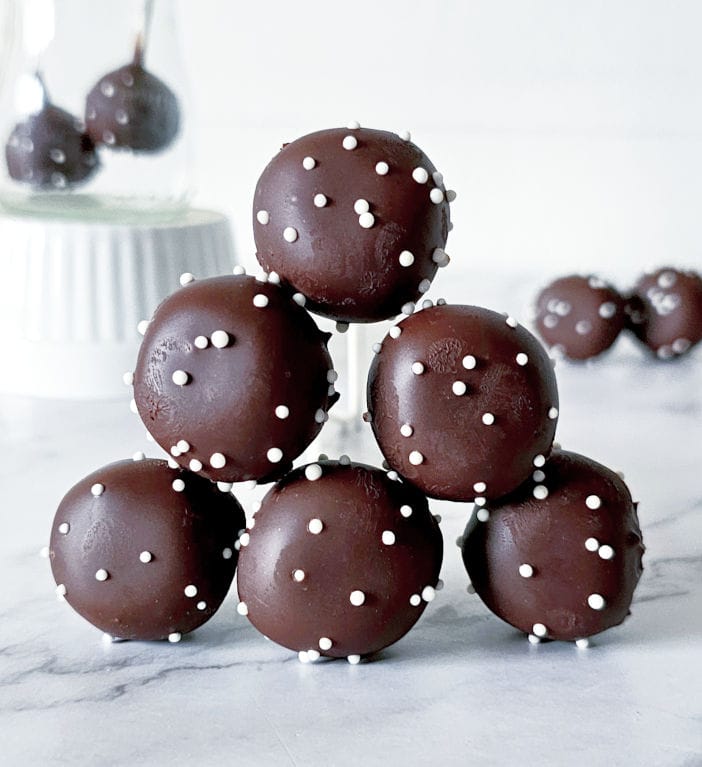
Starbucks chocolate cake pop recipe (copycat)
Description
You do not have to find or rush to Starbucks to enjoy these mini treats. All you need is a few basic ingredients like flour, baking powder, egg, milk, frosting, and chocolate. All of these you probably already have in your kitchen.
Ingredients
Chocolate Cake Ingredients
Chocolate Frosting
Coating Ingredients
Recipe
Chocolate cake step-by-step recipe
-
1. Prepare the pan - Prepare the baking tray using parchment paper or butter-flour method just like I did while making my moist vanilla cake recipe
-
2. Sift dry ingredients - Sift all-purpose flour, cocoa powder, baking powder, baking soda, and salt.
-
3. Add Sugar - Now add sugar and combine until mixed.
-
4. Combine wet ingredients - In a large bowl, combine all wet ingredients except the water.
-
5. Mix wet and dry ingredients - Add all of the wet ingredients to the dry and beat on low speed until just mixed.
-
6. Mix hot water - Add the hot water and stir it using a whisk until thoroughly mixed. Scrape the bowl if needed and whisk again.
-
7. Pour into the cake pan - Pour the cake batter into the prepared pan.
-
8. Bake - Bake the cake at 350F or 180 C for 25 to 3 minutes or until a toothpick comes out clean.
-
9. Cool - Once taken out of the oven, let it cool down to room temperature. Place on a wire rack if required. let us prepare the frosting in the meantime time.
Chocolate frosting step-by-step recipe
-
10. Take chocolate - Place your chocolate in a microwave-safe bowl.
-
11. Melt the chocolate - Heat in the microwave (on low power) at 30-second intervals. Stir between each interval until the chocolate is completely smooth and melted. You can also do this in a double boiler or over a pot of simmering water. Once melted, set aside and let it cool.
-
12. Beat butter - Add unsalted butter to a large mixing bowl and beat until light and fluffy using a hand beater.
-
13. Add icing sugar - Now add confectioners’ sugar, also known as icing sugar, a little bit at a time, beating until it is incorporated into the butter.
-
14. Pour in chocolate and flavoring - Now add vanilla extract and cooled melted chocolate (from step 1) and continue beating until mixed properly. Scrape the bowl from the sides and bottom as required.
-
15. Combine - Beat for a few more minutes and our fudgy chocolate frosting is ready.NOTE - Lastly, add milk or cream to reach the desired frosting consistency. I used a tablespoon for this amount of frosting. You might need more or less depending on the consistency of the butter or the amount of sugar you use. So, never mix all of the liquid at once. Gradually add and beat, checking the consistency. Keep it aside until the cake cools down. It is a good idea to make the cake one day in advance so that it is completely cooled down by then. For more details, have a look at my fudgy chocolate frosting recipe.
Combine cake and frosting
-
16. Crumb the cake - In a large and wide mixing bowl, crumble the chocolate cake. You can do it by hand or with a stand mixer's paddle attachment.
-
17. Mix frosting - Add a tablespoon of chocolate frosting to the crumbled cake, mix well, check the consistency, and repeat until you reach the desired consistency. If you press some cake mixture in your hands, it should come together easily and should not appear oily. Also, it should be smooth and free of any cracks. If it is falling apart, add more frosting. Please have a look at my video for exact details.
-
18. Make balls - Take some of the mixture using a cookie scoop or a regular tablespoon. Roll into a ball using the palm of your hands and keep it on a baking sheet lined with parchment paper.
Prepare the coating
-
19. Melt the chocolate - You can melt the chocolate using either the microwave or on double boiler. I personally like to use a double boiler when making a big batch of cake pops but I will be using the microwave today. Add chocolate in a microwave-safe bowl. Heat for 10 to 15 seconds at 50% power. Remove, stir in with a spoon, return for another 10 to 15 seconds. Repeat the process until you can see the last few bits of chocolate. Don't worry it will melt with the residual heat.
-
20. Add oil - Mix in oil or EZ dipping aid to achieve the ideal consistency.
-
21. Insert a stick - Take one lollipop stick or cake pop stick. Dip one end in melted chocolate and insert it into a chocolate ball.
-
22. Repeat - Repeat the process for the remaining chocolate cake pop balls.
-
23. Refrigerate - Freeze all the chocolate balls for 15 to 20 minutes.
Dip in coating
-
24. Dip - Remove from the freezer and dip in melted chocolate.
-
25. Remove excess - Tap the other side of the stick to return the excess chocolate to the container and place it on a styrofoam block or cardboard box.
Garnish
-
Decorate the chocolate cake pops with sprinkles.
Refrigerate
-
Prepare all of the chocolate cake pops in a similar way and refrigerate the garnished cake pops for 10 minutes.
Serve
-
Serve.


